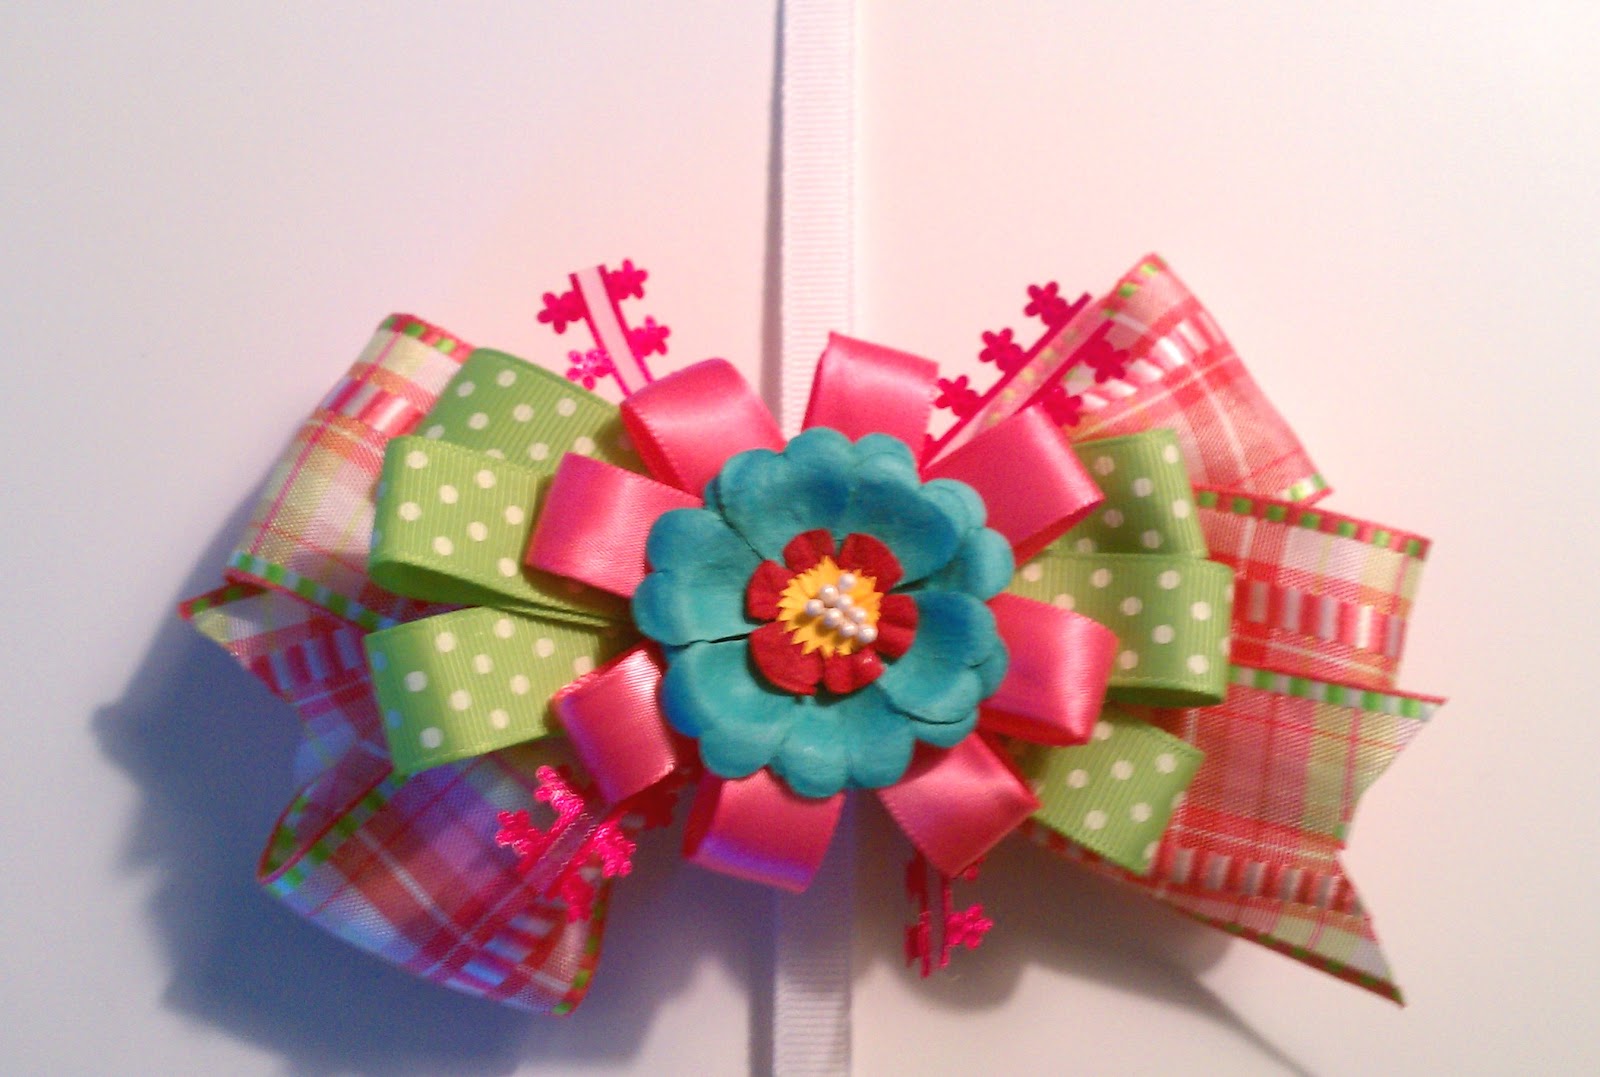
Showing posts with label Hair Bows. Show all posts

Wednesday, February 15, 2012

St. Patrick's Day Bows


Yay!  The St. Patrick's Day bows are complete and are now in the wonderful boutique, Looking Glass Designs.  I made an order of ten to start and they couldn't have turned out any more adorable.


And the bow card looked great attached to the bow.  It's light and fresh and is the perfect complement to any color bow.  I didn't want anything too showy...I wanted the bow to stand out and I really think it does.


I also took a moment in the mayhem of it all and captured a small snippet of my work area...and this is before I really got going!

Just what is the greatest trick not in the book you ask...stick a pencil, pen,
or in my case, an exacto knife (whatever fits) into your spool of thread so
that when you need to get string all you have to do is hold that piece and
pull the string.  Nice and easy.  No unraveling by hand and then misplacing
your spool because you put it in a different spot every time.  It just acts like
a roll of toilet paper.

Grace took the liberty of adding to my mess with the diaper, the goody bag and a puff flower that is usually attached to the baby Claire's swing.  However, she is such a big girl now she can just reach up and grab them.  She kept saying..."You need these momma!"

And speaking of baby Claire, here is a picture of that gooey goodness...


She just had a checkup today and she is 19 lbs...at 6 months!  27.5 inches and growing.  She's the size of a 9 month old, which I already knew because the 9mo. clothing she has been wearing is getting tight.  Just look at those cheeks!!!


Also, in the middle of all this bow goodness, and because I always forget to feed myself, Mr. MCD made me an amazing bowl of clam chowder and homemade garlic toast.  Yep, he's mine.


I'm very happy that I got the order completed and in the boutique.  The next bows to made for Looking Glass Designs are going to be for the St. Louis Cardinals.  And look out little boys....I'm making some handsome little bow ties for you!!

Until next time...


Monday, February 13, 2012

Extra, Extra!!!


Extra!  Extra!  Read all about it!  Shanna got her bows in a boutique and she's gonna shout all about it!!!

And yes, the over exaggerated usage of the exclamation marks are most definitely in order.

We all know that I'm a big fan of making bows.  They're a blast to make and I just can't get over how cute little girls are with a big, fat bow in their hair.

So, I decided to start spreading the love and sell the bows that I love to make...


Well, I just got an amazing opportunity to sell my bows in a gorgeous boutique right here in St. Louis!


Looking Glass Designs of Lafayette Square will be selling my bows starting tomorrow on Valentine's Day!  This boutique is so beautiful and Andrea, the owner, is such a warm individual.  Take a look at some photos of her amazing boutique...


When you walk inside, you just know you are somewhere special.  Andrea is so creative and you should have seen some of the overalls she just embellished with ruffles...*GASP*

Looking Glass Designs not only sells beautiful and unique baby clothing and accessories, but the boutique specializes in unique gifts that range from gorgeous and intricate handmade jewelry, monogrammed bags, spa apparel, serving and wine accessories and gorgeous home goods.

Thank you Andrea for now offering my bows to your customers in your amazingly beautiful boutique.

Please go to Looking Glass Designs' Facebook page and "like" them.

You can also visit Looking Glass Designs here.

Until next time...


Thursday, December 15, 2011

Another Great Bow!!

Hello!  I made another bow last night.  This is actually one that I had started and then hated.  I had originally used the pink and grey plaid ribbon for the base but it's so flimsy, it just looked silly.  So, I went all out instead!  


I love the look of this bow.  It's a big one at 6 inches.  I think it is a show stopper.  I love the stack on this bow.   Once I get my camera cord I'm going to start putting up tutorials for the bows.  They are surprisingly easy to make.  I love how you can get a very new and interesting bow just by adding another layer or another ribbon.

I'm excited to complete this order.  The order is for a young lady who is participating in the "Adopt a Child" program.  All I know is that the two little girls love pink!  So they are getting two large bows and four small bows.  You can see the other bows I've made so far in the Christmas Bows post.

I can't wait to share with you the other bows that are to come.

Until then...


Shanna

Wednesday, December 14, 2011

Christmas Bows are on Sale!!!


Christmas Hair Bows


The holiday season is a time for pretty dresses, cute patent leather shoes and stockings.  But you have to have a pretty little bow on top.  I'm selling those pretty little bows on top.  They are always so fun to make.  I really got into making them for my daughter after never seeing what I liked.  So here are a few of the little beauties I have created.

I had a couple of orders for pink bows, but all are made to the clients specific color requirements.  I'm offering two different sizes; Large (6-inch) and Small (3-inch).  Large bows are $8, small bows are $5 for one and $8 for a pair.

The "Miss Put Together" bow is a 3-inch bow with two ribbons and small center embellishment. Would be very cute as a set with pigtails!
(All bows are made to your color specifications)

The "Christmas Princess" bow is a 3-inch bow with two ribbons (one will be sheer organza) with center embellishment. 
This is a very pretty bow.
(All bows are made to your color specifications)

The "Christmas Wrapping Bow" is a 6-inch bow with three different ribbons and center embellishment. Very fun bow!
(All bows are made to your color specifications)

Merry Christmas!  I love making bows and I'm happy to be able to make a ton of them this year.  I'll have more pictures to come.


Shanna

Tuesday, June 7, 2011

Ruffled Onesies!

Photobucket


Pin It

This is a great gift!!  My mother is attending two baby showers this month and wanted me to make something really cute for the two little lady babies that will be born sometime in July.  I had seen a onesie with ruffles a few months earlier at The Cottage Home.  She made a set of onesies for a pair of twins and the boy's onesie is just darling.  Check out the link above to see what I mean.

The Cottage Home

For mine, I wanted to personalize the onesies so I used Freezer Paper to make a stenciled initial.  This is so easy and makes a very crisp line.

So here we go!  First, I hand drew my letter on the paper side of the freezer paper and used my exacto knife to cut it out.  Luckily, my letters were E and H, therefore, I didn't have any floating pieces (D, P, A, O, etc.). 


Next, I stabilized my fabric by ironing a sheet of freezer paper to the wrong side of my fabric.  This helps the fabric's fibers to stay put and also catches any paint that goes through the fabric.

I then ironed my letter (wax side down) to the right side of the fabric and presto, I have my stencil!


Now the freezer paper is fused to the fabric and the paint will not
bleed through the lines.  It's brilliant!!!

I then took a sponge and some fabric paint - I just used Tulip paint - and went to town!


Make sure you really get in the corners with the paint.


 The paint's directions said to let it dry for four hours, but I let it dry overnight just to be safe because at the four hour mark it was feeling tacky.

So once I peeled off the freezer paper, this is what the letter looked like.


Next I ironed double sided fusible web to the back of the painted fabric. This is great for applique and that's pretty much what I was going to be doing with this piece.  I needed to fuse it to the bib so it wouldn't move when I sewed on the ruffle.  By the way, I used lightweight fusible web.

I then used a template to trace out the shape on the back of the fusible web and cut both the fused web and fabric.  Perfect!


This is what it looked like completely ironed and fused to the onesie.

I then added the ruffle.  I used the same fabric for both the onesies since both mommies were using the same colors, lime and pink, for their nursery - Yay for me, I didn't have to buy fabric!


First off, onesies are quite difficult to work with.  Those itty-bitty things just don't want to cooperate.  There was one point when I really wanted to pull a Hulk Hogan and rip the thing right down the middle.  Yes....I did just reference a wrestling icon and No...I am not a fan.  Just know, my good friend Mrs. Olsen got me thinking about wrestling, so it's all her fault!  Love you, A!

For the ruffle, I cut a strip 2.5" wide and 18" long, folded and pressed it down the middle with right sides facing.  I then stitched the ends together with a 1/4" seam allowance.


I then turned the fabric right side out and ran a gathering stitch all the way down the raw edge and proceeded to gather the fabric.


I stitched the raw edge to the outside of the applique using a zig-zag stitch to try and clean up the massive amount of frays. 


I then turned to one of my favorites tools in my toolbox, and I do mean toolbox literally;  Its cute, it's purple and gray.  I pulled out the good ole' Wonder Tape!  Oh, it's the best thing ever.  It's a "double-sided transparent tape which can be stitched. Wonder Tape will not gum up on needle and completely disappears in first washing. An alternative to pinning or thread basting." per the description at Joann.com.  I couldn't have said it better so I quoted, and if I had tried to use my own words, I would have seemed like some love sick teenager.  I just love the stuff and I used my last bit on this project so I will be making a trip very soon.

I applied the wonder tape to my rick-rack to hold it down before stitching and of course, it worked like a charm!


And with that, all that was left to do was the back.  I basically did the same thing as the front.  On the bum I stitched the raw side of the two gathered ruffles (these were 2.5" x 20" ungathered) to the onesie and then for the top fabric stitched the rick-rack to the raw edge.  Here's what the finished product looks like!


This turned out so cute that I had to make matching bows for the little babes!


The girls will get one of each and they are lined all the way around instead of on just one side.  However, if the fabric still won't hold the little hairs, a strip of Velcro or a sliver of a make-up sponge glued to the inside bottom of the clip (I prefer the make-up sponge) will add extra support.  But I'm hoping that the fabric's friction will be enough.


So, now my mother has two baby shower gifts and I have a three extra onesies to now play with for my little bundle to come.  My next post will probably have another fun applique.  Or it will be the kitchen floor mats, or Grace's night gowns, or the shirt I just designed...as you can see, I have a ton of projects on my mind.  One thing I know, they will all make their way here.  Thanks for visiting!

Wednesday, June 1, 2011

Purple Wimsy Tank

Hello!  I've been gone for a while but I've been very busy.  I've had company, we've been getting the house ready for baby #2 and I made this cute little tank top for Grace.  However, due to the busy nature of the past month, I didn't take a ton of pictures.  This was a hard design for me and I had to do a ton of thinking on the fly.  It didn't turn out exactly as I had hoped in the arm holes, but that is easily fixed for the next time.  Lessons, lessons, lessons.  I also made her a bow to match and am working on two other matching bows for when I put her in pig-tails.  I'll post those when they are completed.  In the meantime, enjoy the pictures and the little tidbits about this shirt along the way and thanks for coming back!


This shirt is made of two different prints on cotton with medium rick-rack in Dark Banana.  I love the mix.  The purple fabric is so cute and the geometric coral fabric is such a contrast to the free form shapes in the purple.  I love this shirt. 


I got my head stuck in one of these at Disney when I was a little girl - the dumbo ride to be exact - so fear was coursing through my veins as I took this picture.


The back is really cute and is one of my favorite parts.  It consists of two buttons (which are by far my favorite things on this shirt...so weird) which close the top of a little peep hole in the back, which is covered in rick-rack.


The buttons are glass fragments that just shimmer with every color in this entire shirt.  They are beautiful and the pictures do not do them justice.  You really have to see them in person. 

To make the button loops, I found this great tutorial at YSolda.com.  It was perfect for this shirt.  I just had to use embroidery floss and the little knots around the loop make for a very sturdy button hole.  Super easy to make.

I also made a bow for this shirt.  This one is for when I put her hair in a ponytail and I'm making two more for pig-tails.


This bow consists of amethyst satin ribbon that is 1.5" wide, 3/4" wide flexi-lace hem tape in sweet peach, the medium dark banana rick-rack and a rosette made of 5/8" wide amethyst satin ribbon.  Too cute!!!


One of my hardest shirt designs so far but I executed it pretty well.  I really need to start fitting the piece on Grace as I go along.  I do all my sewing and crafting at night so that hasn't been an option but we will figure it out!  Thanks again for visiting and sorry for the long absence.  I think I'll be getting back into the swing of things with all my chores done finally.  :)
Related Posts Plugin for WordPress, Blogger...