Nerve-racking: (adj.)
Intensely distressing or irritating to the nerves.
That is what this project was for me. Nerve-racking. I was really scared to cut into these pants even though I knew that if I messed up the outcome, I wouldn't have been able to wear them ever again anyway. After I gave birth to Grace, those pants were just never going to button again. However, they still fit great in the thighs and behind. So, why not try my first maternity refashion?
First, I'll say that the outcome was not perfect, but it was perfect in that I made many adjustments for a couple of future pant refashions.
Second, the method I used on these pants would still be perfect for most pants. These just happened to have an extra large band at the top. I also should have figured in how low the zipper was on these pants as they were always a very low riding trouser, so I lost quite a bit of length in the front and back with these. Still, they came out completely wearable.
To begin, I traced out a cutting line beginning just under the zipper and rising up to the side belt loops.
Next, I stared at the pants for about 15 minutes as I realized what I was about to do. I was about to cut into a perfectly good pair of pants! I don't know about you, but this fact was freaking me out a bit.
When I finally gathered my courage, after David told me I had already ruined the pants, I made my cut. When doing this, just cut right through the pockets. You can pin them on the inside to make sure they don't move it there is a chance of that. For the back, cut just under the band and remove with a seam ripper any belt loops that may still be attached to the pants.
Whew! Looks deep huh? Well, it is. That's why these pants aren't perfect but still perfectly wearable and now I can get some final good days out of a beloved pair of pants.
Next, I had to make the band. I used a one-way stretch knit fabric. When using a one-way stretch, make sure the stretch is going left to right on the belly, not up and down.
I typically like a full panel. I know, granny style, right? But, If I use a demi panel, I find myself constantly pulling my pants up. But for this one, I did make a demi panel....by accident! Ha! Of course it's fine and because the cut is so low, it doesn't do what a normal demi panel does to me where I feel like I'm cutting off the circulation to my baby when I sit down.
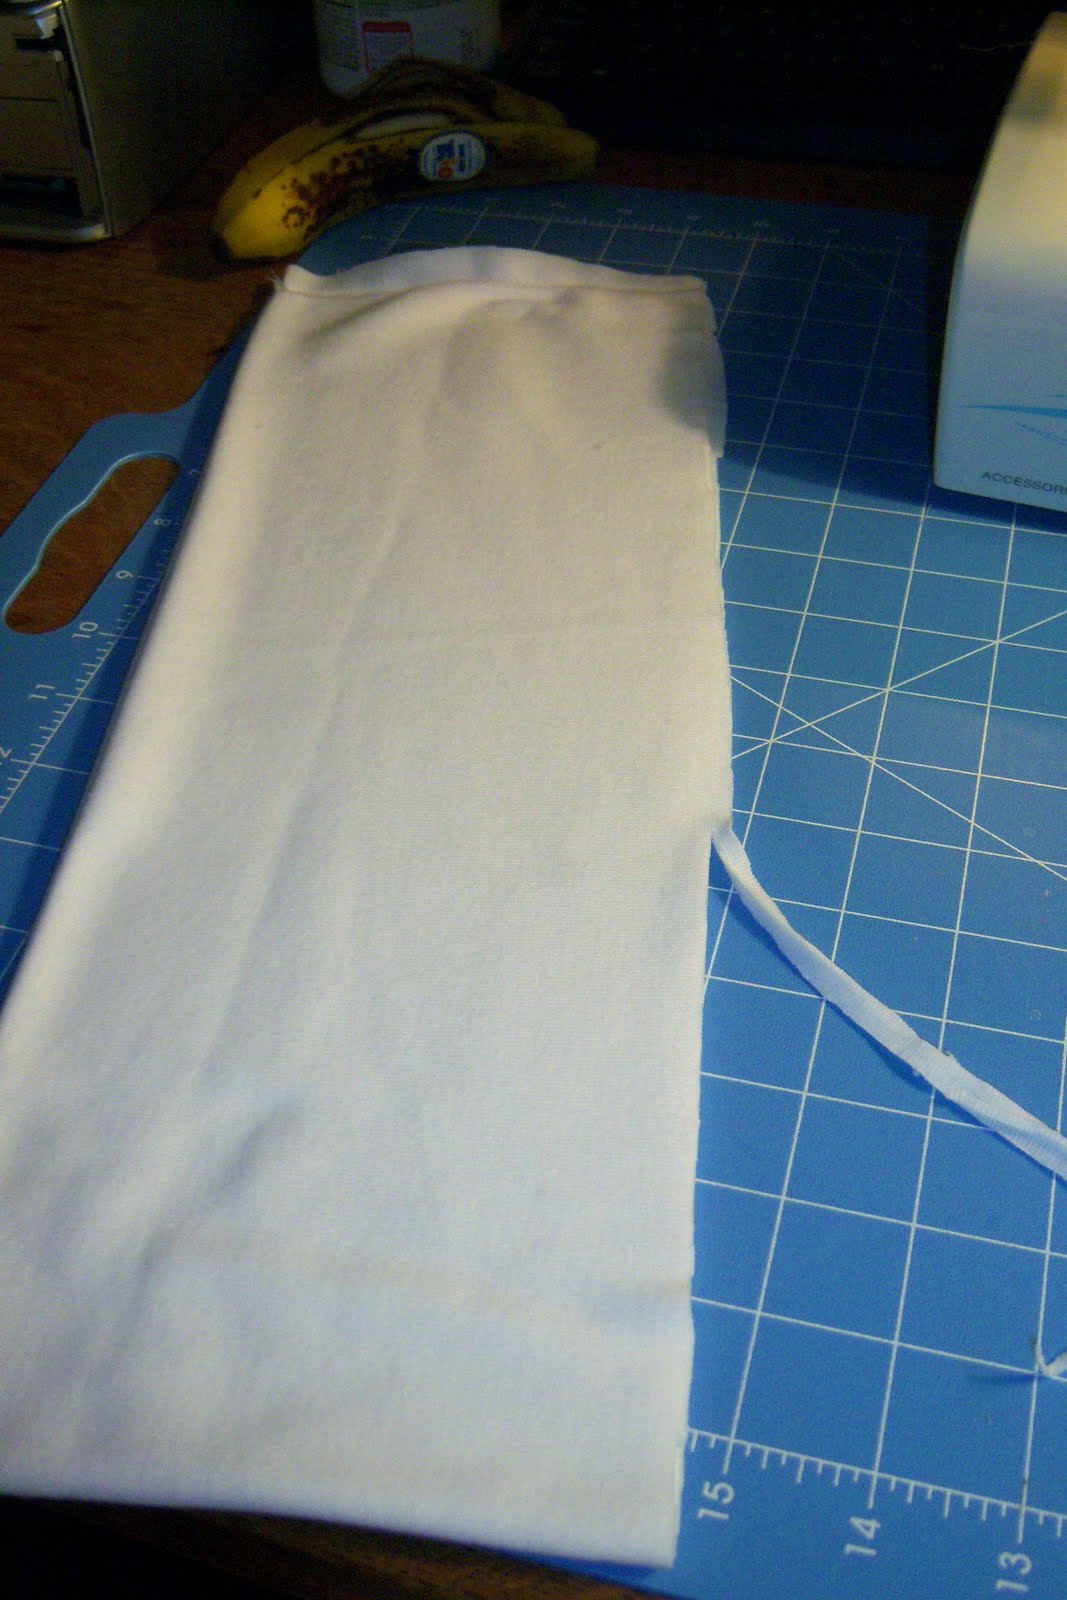
I cut a 12" x 23" piece of fabric. This is of course too long, but it might not be if you are farther along in your pregnancy and every knit fabric stretches differently.
Fold it in half and wrap the fabric very tightly around your belly (stretch left to right) while still allowing for a little give. Allowing for a 1/4" seam allowance, mark it with a pen and cut the fabric where you marked.
Next, sew the ends together. Make sure you use a knit needle and use a stitch that is appropriate for knit fabric. Zig-Zag works well, but I used a different one as there is a lot of pulling involved in the use of these pants.
 |
| Cut off excess where the band will be sewn to the pants so that you will catch both pieces of the folded fabric to the pant. |
Next, pin the raw edge of the fabric to the outside of the pants.
The knit fabric will be a little smaller than the pants, so you will have to stretch it to make it fit the pants.
Next, stitch the piece together using your choice of any appropriate knit stitch.
And Voila!!!! You've got some adorable new maternity pants that you didn't have to pay fifty bucks or more for!
I love these pants, they are super comfy and look great, I mean GREAT, with heels.
A word of advice, if your band looks very wide and the pant are already a low rising pant, remove the band with a seam ripper. This takes a lot more time, but the loss of length in the back is dramatically reduced. Also, if you want more length in the front...well, I'll save that for the next pant refashion!