Showing posts with label Repurpose. Show all posts

Monday, October 1, 2012

Up-Cycled Skirt Tutorial


Have you ever had one of those moments where you are doing something or looking at something and then this big idea hits you and you have to stop everything you are doing and just focus on that?  That is why this skirt exists.

While looking through a box of old clothes that I keep for up-cycling purposes I ran across and old maternity shirt.  I was going through the box for a completely different project but when I saw the shirt I was overcome by the "Do It Now" syndrome that I have a tendency to let control my life.


It's beaten, bruised and sad.  I wore this quite often while preggo with both of my children.  I loved the soft fabric and the stripes looked great under a maternity cardigan.  It was also a favorite sleeping shirt.  It has seen it all.  But when I saw it I was thinking two things...

1.  I bet Izzy would wear this!
Izzy is the female pirate from Jake and The Never Land Pirates

2.  Grace wants to be a pirate for Halloween!

We have been discussing the costume options with Grace and it always comes back to Jake and The Never Land Pirates.  She keeps telling me that I can be Izzy, Daddy can be Cubby, She's Jake and Claire can be Skully....the parrot...

I'll admit, I've really been contemplating the idea of making costumes for the whole gang...even a parrot costume for Claire bear.

So, for the next hour after finding the shirt, I made a simple skirt that maybe she could use for pirate dress up too.  Who knows.

First and foremost, Grace had to confiscate and check out the original shirt.

After I finally convinced her that it would be much cooler as a skirt, she finally let me have it. 

So here is how an old maternity shirt became a soft and cute fringed skirt.

First, gather your materials.  You will need:

1.  Striped shirt that you would like to up-cycle.
2. Good fabric Scissors
3.  Sewing Machine
4.  Appropriate Sewing Needle
4.  Matching thread
5.  Elastic (1/2 inch wide or less will do) cut to desired length
6.  Pins
7.  Two Safety Pins
8.  An hour of time

I want to take a moment to stress the importance of number four.  My shirt was a stretchy, knit jersey fabric. And if you happen to use a similar fabric, be sure to use the appropriate needle as you could damage the fabric and your machine.  I went with a knit needle for lightweight fabrics.  Worked like a charm...smooth like buttah!

Also, my rule of thumb for cutting elastic is to cut one inch less than the required length.  Grace's waist was 19 3/4".  So I cut a piece of elastic 18 3/4" long.

So here we go!!

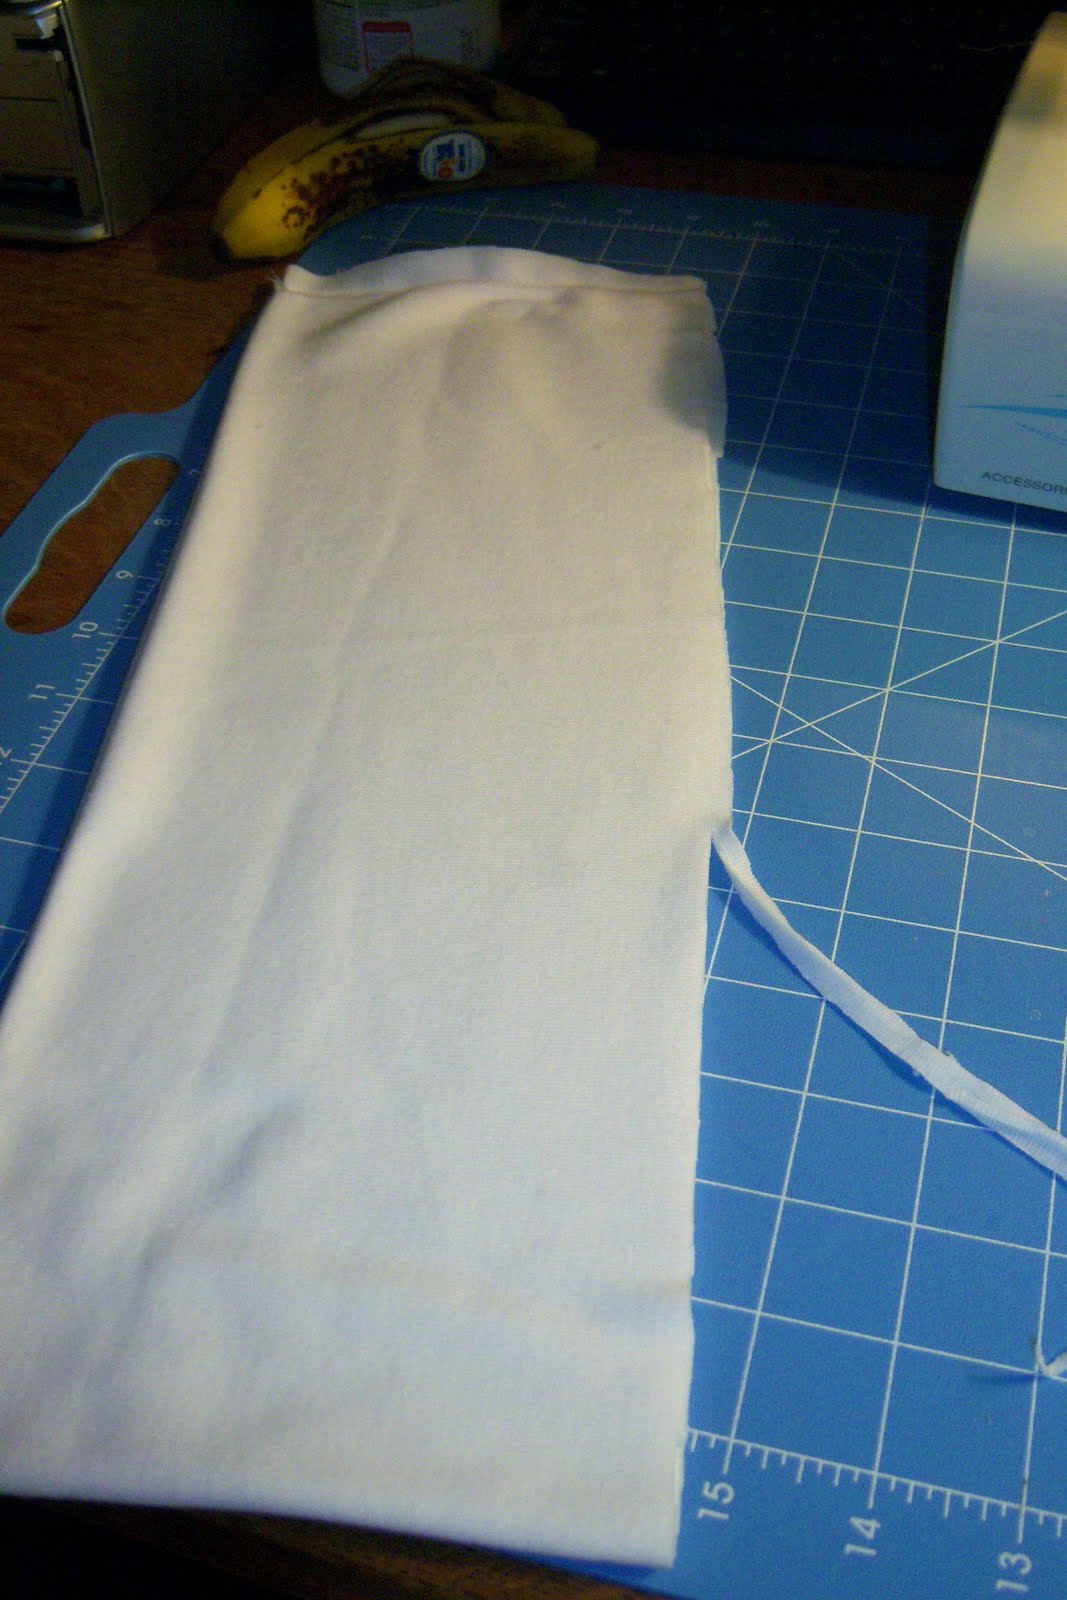
First you need to cut the fabric to ensure a perfect "tube".  Since my shirt was a maternity shirt, this was really important.  I had more fabric in the front than in the back, naturally.  If you are using a regular shirt, you could simply use the hem as-is or cut along or above it depending on the length you want.

I wanted a longer skirt so I found the first stripe that went  around the entire shirt and cut along the bottom of it.


Next, I did the exact same thing to the top, finding the first stripe that went all the way around unhindered by any hems on the shirt.  Again, I cut along the bottom of that stripe.


Once you have cut out your piece, you should have a "tube" of fabric.


My fabric widened near the bottom as it was a maternity shirt.  Therefore, I chose that part as my bottom and started working on the top.

For the elastic waistband I made a casing.  After turning the fabric inside out, I suggest you make a hem by folding 1/4 of an inch, iron that down, and then fold over again an inch (you can also use one of the stripes as a guide).  Pin along the bottom of the hem.

Next, Take two pins and mark the opening to your casing on a side seam or on the back of the skirt.  You will not sew this area to begin with and the pins will act as a start and stop point. 

Creating a hemmed casing makes for a cleaner and more professional garment.  However, I had length working against me so I had to sacrifice the pretty hem.   : - (


Next you will start at one of the opening pins and sew along the bottom of the casing using an overlock or zig zag stitch for stretchy knits, or a straight stitch for non-stretch fabrics.   Remember that when you start, sew a few stitches and then make a few back-stitchs before proceeding.


When you come to the other pin, make a couple back-stitches to secure the thread.  This opening will need to be secure when putting in the elastic.

Now you will want to insert the elastic, and I have a couple tricks.

First, place a safety pin on the end of your elastic.  This will be the end that you feed into the casing.


On the other end (making sure to keep the elastic untangled and straight) pin the elastic to the outside of the casing.  This keeps the end of the elastic from slipping into the casing when you are tugging it through.  Brilliant!!


After you have pulled the elastic through the casing to the other end, pin the two ends of elastic together and sew.  Use a zig zag stitch and go over it a few times to ensure a secure hold.


Next, sew up the hole in the casing.  If you catch the elastic, that is perfectly fine and will actually help it to stay in place.

After your top is finished you can start on the bottom fringe.  I fashioned the bottom with those fleece throws in mind.  Basically it is simply tying two strips of fabric together.

First start by cutting about 1" into the fabric and make the strips about 1/4" wide.  I used the bottom of one of the stripes as a guide.


Continue to cut until you are about two inches from your starting point.  This will keep you from cutting one too many strips and not having anything to tie it to.

Tie two strips together in a double knot and continue until you get to the two inch block.  From there you can eyeball it to cut the correct amount of strips to ensure everyone gets tied to a partner.


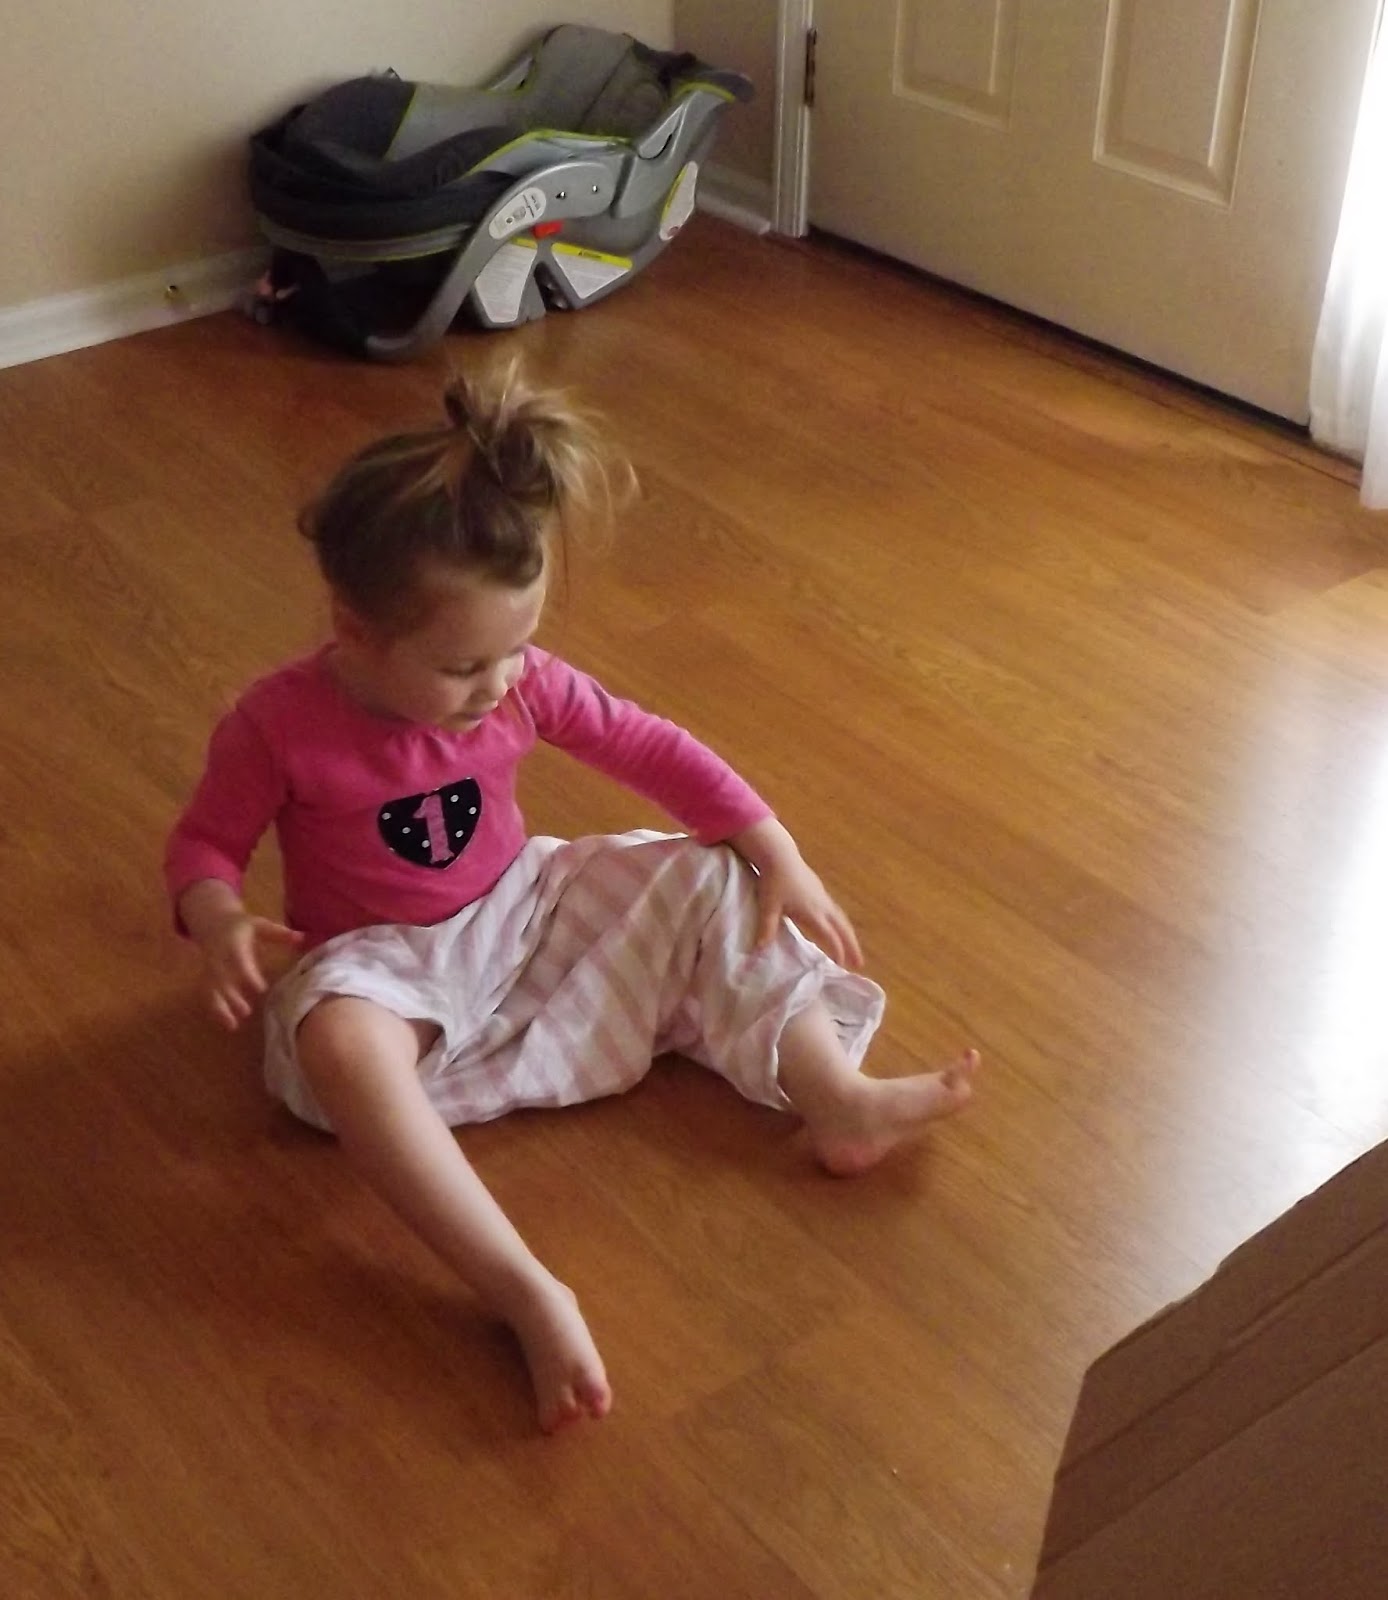
And then you are done.  All that's left to do is bribe your daughter with a piece of chocolate just so you can take a picture of her wearing the skirt!


After she put it on she of course loved it.  I made no mention of Izzy and the other pirates.  But I can definitely see this with some tights, a vest and a pirate hat.  Can you?  I'd love to hear what you think.


I love up-cycling.  This project cost me $0!!  I already owned the t-shirt and the elastic came from a giant bag of it that my dear friend Robin over at Bella's Blossoms gave 
me.  I had the thread and everything else so this project was great!  Plus, it only took me an hour and that was with both babies running around and Grace repeatedly asking me, "Is it done yet?"


I really love this skirt.  It's loose and the fringe at the bottom adds just a little more visual interest.  Here's the before and after:

Now go dig through your old shirts and find one to make into a skirt!

Until next time...


Monday, October 17, 2011

BABY LEGS!!


Wow are these things stinkin' cute!  I love the fact that I can keep Claire's legs warm and I can still get to her diaper without completely disrobing her.  It's starting to get cold here in St. Louis so this will definately be a plus.

These baby legs are so easy to make and so much cheaper!  For one pair of really cute "baby legs" I would pay around $7 or $8 dollars...well, the ones that I liked at least.  For $8 I bought really cute knee high socks for little girls and made four pairs of baby legs!  That's a price I like.


So here we go.  First, lay the sock down flat on it's natural fold from the packaging.  Next, take siccors and cut off the toe and the heel.  On the heel, cut along one side and then cut straight. 


You may think that this will leave the sock with a peak but it actually leaves you with a nice little rectangular piece as you can see below.


Next, take the small piece and fold it inward with wrong sides together.  Pull the raw edges together.

Now, here you can do one of two things.  A) You can leave it as is to sew to the other piece, or B) you can cut one side in order to make the cuff smaller.  I went with option A but at the end of this tutorial I will tell you what to do for option B.


Now that you have your raw ends together with right sides facing out, slide the cuff onto the other end (long end) of the sock.  Again, bring the raw edges together.  Now do any wiggling you need to to make the ends nice and even and everything is laying correctly.


Next, sew down the raw edges taking care to capture all three edges.  Use a zigzag stitch and stretch out the fabric a little bit.  I suggest a little more than a 1/4" seam allowance as the knit in the sock likes to roll up just enough that anything less lends to missed fabric. 


This process literally takes about 5 minutes...maybe.  I did four pairs in about 45 minutes.  That's with taking pictures, changing Claire, feeding Claire and having a few bites of key lime pie to boot.  It also helped that I did all the socks in an assymbly line.


And here is sweet Claire in her brand new baby legs!  They are so cute and so is she!  And yes, she has two different colored socks on...


Grace had to come and give her little sister a sweet kiss.  I don't blame her!


So there you have it.  DIY baby legs on a friendly budget.  I think I am going to make a few pairs for Grace but I will make them out of adult socks.  I'll post the pics when I make them.


For option B, I made you a very fancy illustration of what to do...Ha!


Make sure you use a zig-zag stitch on step 2.  Also, you will have to stretch the material to make everything fit nice and neat as the cuff will be smaller than the other end piece.

That's it.  This was a fun little project.  I enjoyed making them and now I will be on the lookout for more socks for my little ones.  Oh, plural.  That's fun to say.

Thanks for visiting as always and I will be posting some more in the coming days.  Stay tuned!

Wednesday, May 4, 2011

Good Ole' Granny Panel Skirt Refashion


This was my second maternity refashion.  I bought this skirt with the intent of making it into a maternity skirt.  I got it a TJ's for $12.  That's way cheaper than anything I would buy that's ready-made maternity!

As I said in the maternity pant refashion post, I like a full panel.  So after learning my lessons with the first refashion, I lengthened my knit fabric from 12" x 23" to 17" x 23".  This gave me a finished size of a little over 8" after seam allowance.  Nice and granny-like!

This skirt was interesting.  The front was flat and the back was elastic.  So, instead of cutting off the entire band, I just cut off the front.


Before I cut anything, I pinned the front and the lining together under my cut line, that you can't see in my picture, so I could keep the two together.  I didn't go too low with the cut, just a few inches.


Again, as you can see, I kept the elastic in the back.  Next, I just sewed the band that I made (see Maternity Pant Refashion for instructions) to the elastic while making sure to fully stretch the elastic and stretch the knit a little too.


 I continued on to the front and finished to have a beautiful new skirt to wear during the hot summer months of pregnancy!  Keeping the elastic was perfect and the band is wide enough that I can fold it down for now and when I get bigger and need more support, just pull it all the way up again.  I love my granny panel!


Maternity Pants Refashion


Nerve-racking: (adj.)
Intensely distressing or irritating to the nerves.
That is what this project was for me.  Nerve-racking.  I was really scared to cut into these pants even though I knew that if I messed up the outcome, I wouldn't have been able to wear them ever again anyway.  After I gave birth to Grace, those pants were just never going to button again.  However, they still fit great in the thighs and behind.  So, why not try my first maternity refashion?
First, I'll say that the outcome was not perfect, but it was perfect in that I made many adjustments for a couple of future pant refashions.
Second, the method I used on these pants would still be perfect for most pants.  These just happened to have an extra large band at the top.  I also should have figured in how low the zipper was on these pants as they were always a very low riding trouser, so I lost quite a bit of length in the front and back with these.  Still, they came out completely wearable.
To begin, I traced out a cutting line beginning just under the zipper and rising up to the side belt loops.
 
Next, I stared at the pants for about 15 minutes as I realized what I was about to do.  I was about to cut into a perfectly good pair of pants!  I don't know about you, but this fact was freaking me out a bit.

When I finally gathered my courage, after David told me I had already ruined the pants, I made my cut.  When doing this, just cut right through the pockets.  You can pin them on the inside to make sure they don't move it there is a chance of that.  For the back, cut just under the band and remove with a seam ripper any belt loops that may still be attached to the pants.


Whew!  Looks deep huh?  Well, it is.  That's why these pants aren't perfect but still perfectly wearable and now I can get some final good days out of a beloved pair of pants.

Next, I had to make the band.  I used a one-way stretch knit fabric.  When using a one-way stretch, make sure the stretch is going left to right on the belly, not up and down.

I typically like a full panel.  I know, granny style, right?  But, If I use a demi panel, I find myself constantly pulling my pants up.  But for this one, I did make a demi panel....by accident!  Ha!  Of course it's fine and because the cut is so low, it doesn't do what a normal demi panel does to me where I feel like I'm cutting off the circulation to my baby when I sit down.

I cut a 12" x 23" piece of fabric.  This is of course too long, but it might not be if you are farther along in your pregnancy and every knit fabric stretches differently.

Fold it in half and wrap the fabric very tightly around your belly (stretch left to right) while still allowing for a little give.  Allowing for a 1/4" seam allowance, mark it with a pen and cut the fabric where you marked.

Next, sew the ends together.  Make sure you use a knit needle and use a stitch that is appropriate for knit fabric.  Zig-Zag works well, but I used a different one as there is a lot of pulling involved in the use of these pants.

Cut off excess where the band will be sewn to the pants so that you will catch both pieces of the folded fabric to the pant.
Next, pin the raw edge of the fabric to the outside of the pants.


The knit fabric will be a little smaller than the pants, so you will have to stretch it to make it fit the pants.

Next, stitch the piece together using your choice of any appropriate knit stitch.


And Voila!!!!  You've got some adorable new maternity pants that you didn't have to pay fifty bucks or more for! 

I love these pants, they are super comfy and look great, I mean GREAT, with heels.

A word of advice, if your band looks very wide and the pant are already a low rising pant, remove the band with a seam ripper.  This takes a lot more time, but the loss of length in the back is dramatically reduced.  Also, if you want more length in the front...well, I'll save that for the next pant refashion!

Wednesday, April 13, 2011

DIY Play Shirt


Photobucket


I have two very old, very worn t-shirts that I bought back in my college days.  It was when I was super skinny and could pull off the tight tee.  However, they were banned to the sleep clothing pile a couple of years ago.  Now that I'm a mom, I feel I have to wear certain things and these shirts are not considered "mommy material".  So here is one of the shirts:


I thought they were very cute at the time of purchase...

As you can see, I haven't even bothered to get a stain out of this shirt because I don't wear it out.  But, as I was getting clothes together to take to charity I thought that these little graphics were perfect for Grace!  So I am going to make her two new/old play shirts for the house.  They won't be prim and proper so here it goes!

First, I did some basic measurements based on Grace's size.  I knew the chest needed to be at least 19" around so I just made a mark to measure out 10" on the front.  From there I swooped downward to make sure I had ample room for my baby's belly - Grace's is about as big as mine!

Next, I swooped up a little to go to the arm pits and made another swoop going the opposite direction for the arm holes.  I cut along those lines (plus one for length - about 14 1/2" from shoulder seam to bottom) and completely cut through the shoulder seams, since it's already there.

Here's the cut out shirt ready to be sewn together!


Next I turned it inside out, stitched the side seams and the arm holes.  I left the bottom ratty-tatty.  I kind of liked it.  It's like a little girl muscle shirt, and Grace loves to show off her muscles!!!

Here are the two finished shirts...


Now, Grace will have two new/old play shirts for those really hot days that we just stay home.  Super easy and I loved how I didn't really need to be precise.  T-shirts, repurposed.
Related Posts Plugin for WordPress, Blogger...