
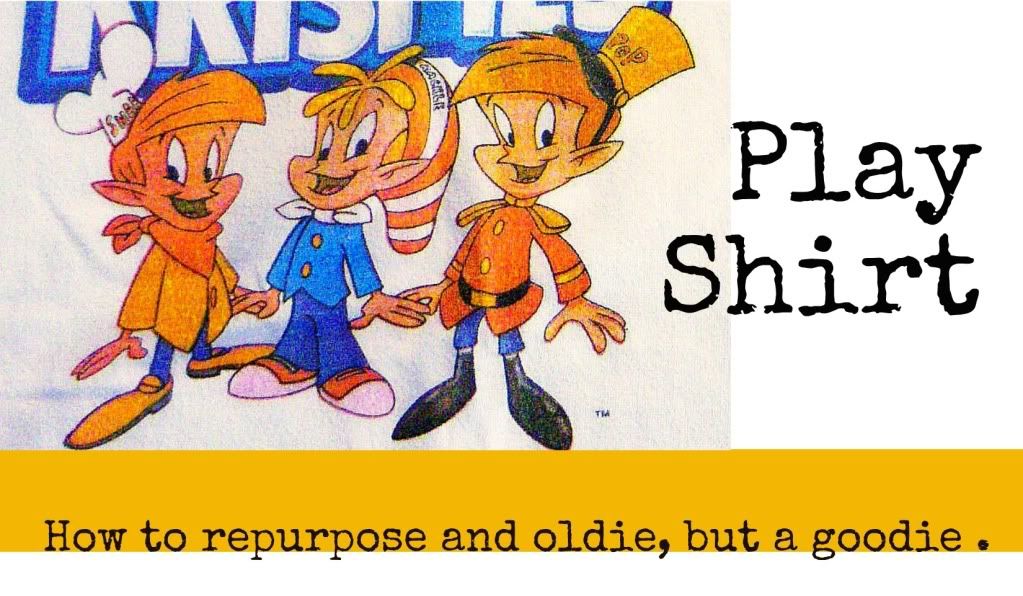
I have two very old, very worn t-shirts that I bought back in my college days. It was when I was super skinny and could pull off the tight tee. However, they were banned to the sleep clothing pile a couple of years ago. Now that I'm a mom, I feel I have to wear certain things and these shirts are not considered "mommy material". So here is one of the shirts:
 |
| I thought they were very cute at the time of purchase... |
As you can see, I haven't even bothered to get a stain out of this shirt because I don't wear it out. But, as I was getting clothes together to take to charity I thought that these little graphics were perfect for Grace! So I am going to make her two new/old play shirts for the house. They won't be prim and proper so here it goes!
First, I did some basic measurements based on Grace's size. I knew the chest needed to be at least 19" around so I just made a mark to measure out 10" on the front. From there I swooped downward to make sure I had ample room for my baby's belly - Grace's is about as big as mine!
Next, I swooped up a little to go to the arm pits and made another swoop going the opposite direction for the arm holes. I cut along those lines (plus one for length - about 14 1/2" from shoulder seam to bottom) and completely cut through the shoulder seams, since it's already there.
Here's the cut out shirt ready to be sewn together!

Next I turned it inside out, stitched the side seams and the arm holes. I left the bottom ratty-tatty. I kind of liked it. It's like a little girl muscle shirt, and Grace loves to show off her muscles!!!
Here are the two finished shirts...


Now, Grace will have two new/old play shirts for those really hot days that we just stay home. Super easy and I loved how I didn't really need to be precise. T-shirts, repurposed.
No comments:
Post a Comment