

OOOhhhh....soo cute! My niece wanted a tea topper for her birthday, but she's only turning seven and tea is really not on her radar. Instead, I decided to make her a jewelry box. I decided to make this before I even had the slightest idea as to how I was going to do it. But, after two hours of staring off into space going through the construction in my head, I got it!!!
Here it goes. First, I wanted the box to be 4"x4". So here are the materials to get a 4x4 inch jewelry box:
For Box
Four pieces of 2" x 4 1/4" stiff felt
One piece of 5" x 5" stiff felt
One piece of 4 1/4" x 4 1/4" coordinating fabric
One piece of 2 1/2" x 16 1/2" same coordinating fabric
For Lid
One piece of 4 1/2" x 4 1/2" stiff felt of contrasting color
One piece of 4" x 4" stiff felt of same color as box
Decorative embellishments
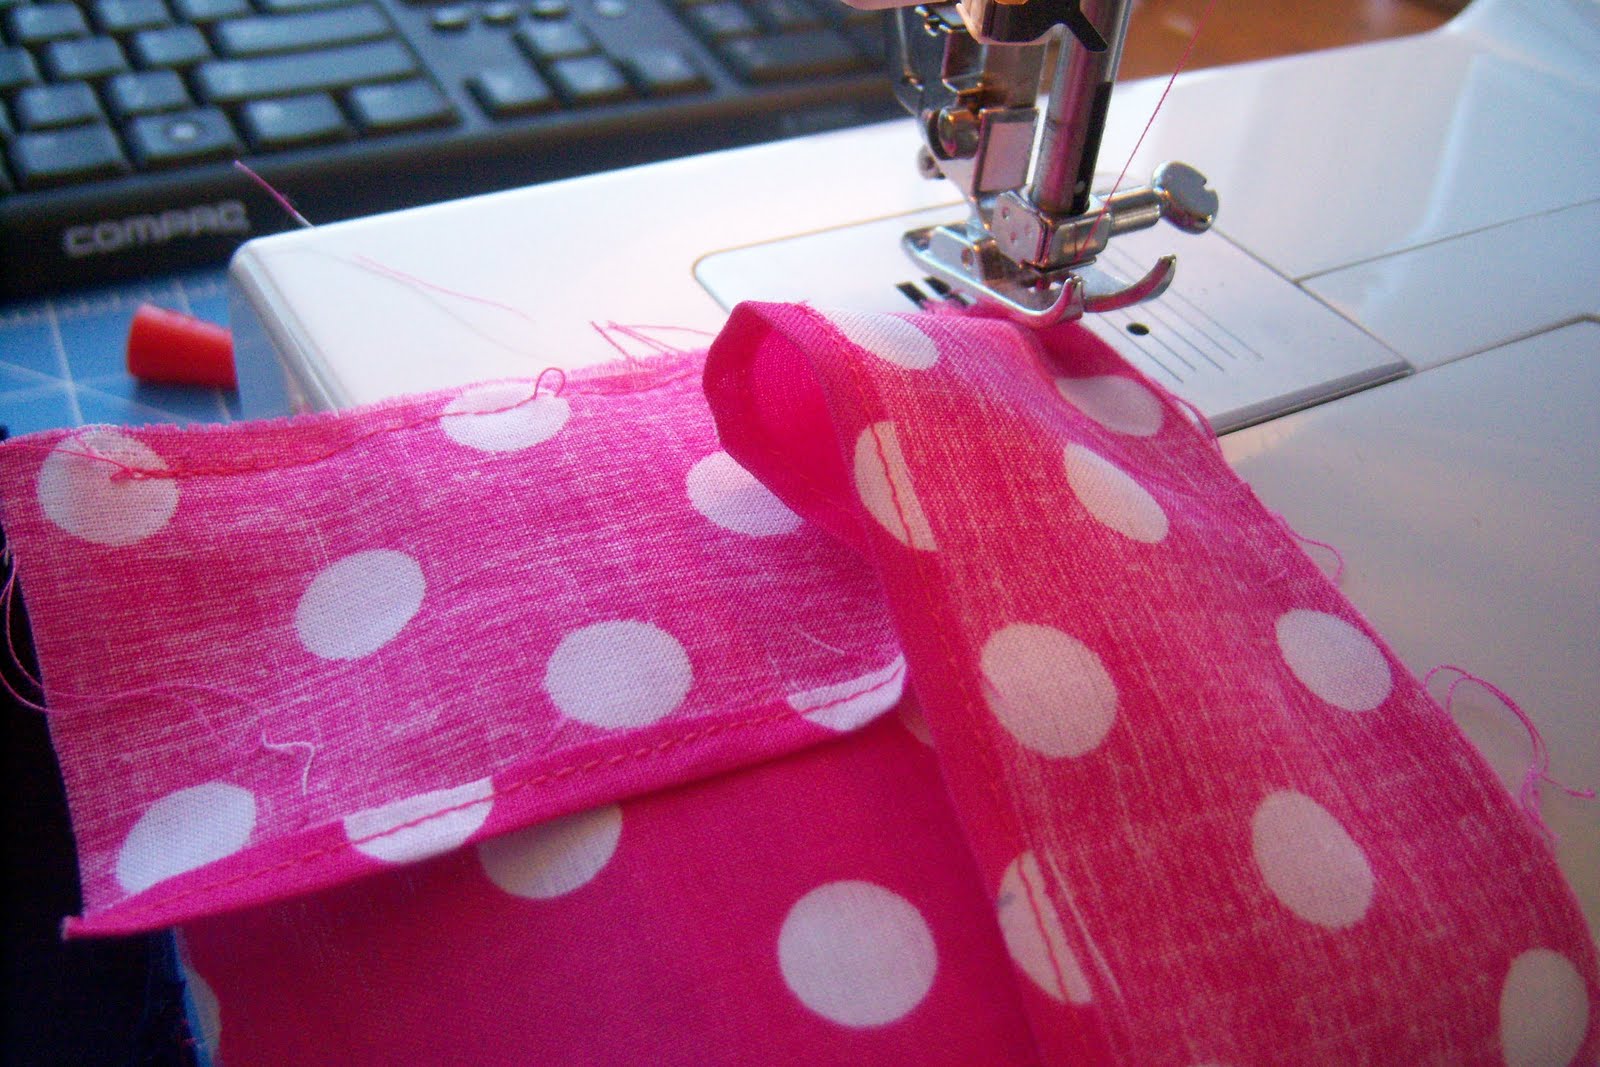
First, I took the four pieces of 2" x 4 1/4" stiff felt and glued them together with 1/4" overlapping. and then stitched a seam down the middle with coordinating thread. You can use a decorative stitch here. I used a straight double stitch as it was the best looking one for the look I was going for. I would also add another stitch to the right so that when you fold the sides you will have two lines of stitches on each side of the box. Mine only has one, but it's kind of funky so I didn't worry about it too much.


Fold where a piece overlaps on the top.

You just do that all the way around and then when you get to the end, make it match and stitch it together. I really recommend gluing the end and letting it get a good hold that way when you stitch it stays in place and it's nice and even.
Here's what the box should look like when stitched together.

Next comes the bottom of the box and this was tricky. I cut a 5x5 inch square of stiff felt and then marked a 5/8" from the corner on all sides. I then made a rough cut to get that extra felt out of the way.

I used a ruler to get even and crisp fold on all four sides.

This next picture is hard to see, but I slipped the bottom in and glued the sides to the inside of the box.

 |
| This doesn't look pretty but looks much better when it's dry and stable. |
Next the lining. I cut a piece of coordinating fabric to 2 1/2" x 16 1/2". I then folded over a 1/4" on the long edge and stitched it.


Next, I cut a 4 1/4" x 4 1/4" square of the same fabric. With right sides together stitch a 1/4" stitch down the first side. With the needle still in the fabric at the end, pivot and bring the long fabric to run along the second side. Stitch but be mindful not to catch any of the excess fabric. Do this until you get to the place you began.

Next choose witch of the ends will be seen in the box and fold 1/4" and glue. Next glue the other side to the back of that and stitch to complete the lining (definitely glue before stitching this).


Next glue the top of the lining to the inside of the box and presto! You now have a lined box...without a lid.

The lid is easy. Cut a 4 1/2 x 4 1/2 inch square of coordinating stiff felt and another 4x4 inch square of the stiff felt the same color as the box. Glue and then stitch a decorative stitch 1/4" from the edge of the 4x4 inch square.


At this point it's a blank canvas. You can add buttons, gems. You can do whatever you want to do. I decided to do some mixing and matching. I made a fabric flower and then made a couple of ribbon loops with two different fabrics and glued on two gems. It turned out beautiful!


I also added some large, clear gems to the sides of the box for added sparkle.

The finished jewelry box turned out beautiful! I love it and I think my niece will love it too.

No comments:
Post a Comment