Wednesday, October 3, 2012

Fall Stew: Preschool, Nature and Seasons


I started homeschooling Grace a few weeks ago and one of the biggies around here is outside playtime.  We are pretty home bound as we don't get to have the car during the day.  

...THIS HAS BEEN MISERABLE...

But, it's temporary.  So, in the meantime, I try to get the kids outside at least for an hour a day and I usually try to keep it educational.

I take my cues from Montessori for the most part, like properly presenting an activity or lesson...but this was completely random and off the top of my head.  However, it was a HUGE hit.

Introducing, Fall Stew.


First we gathered our materials.  To make Fall Stew you need:

Leaves of various shapes and sizes
Grass cuttings
Tree bark
Sticks
Water and Red Food Coloring
Cooking Supplies - pots, spoons, etc.


Doesn't that look appetizing?

We named the leaves.  There was one that kind of reminded me of rosemary.  We called one a bay leaf.  The sticks were deemed cinnamon sticks.  And as Grace was wafting the imaginary aromas into her little nose, she informed me that it wasn't quite ready.


So she stirred, and stirred.  She whisked and poured.  Sister sat by, watching very closely all that was happening.  Grace was very busy at work and this stew needed to be perfect.


Grace transferred water to the larger pot with the turkey baster...a favorite of hers.  She often asks why it doesn't have feathers.  *smile*

She examined the leaves and made exciting discoveries about each one, which I of course had to check out.  She loved the sieve and was quite intrigued with that for quite a while.


That face is what you call sweetness.

We talked about the leaves and why they weren't green anymore.  We talked about why there were so many leaves on the ground.  She tried to remember the number that she saw and then said, "There were a million-bagillion-trillion!"


It was very serious work as you can see.  And I don't think it was ever "ready", but they both had a great time.  We wound up being out there for almost three hours.  I eventually ran out of things to talk about and just let them both do their own thing while asking questions here and there throughout the rest of Grace's play.  


There's my big baby.  She was doing her "So Big" gesture, but to me she just looks like she's about to bust out some sick rhymes.

I loved this playtime we had.  So many lessons were learned through the simple act of playing.  Fresh air, smiling babies, amazing weather and a perfect pot of Fall Stew made this Momma and her babies very happy.

All the things Grace learned through play:

Measuring
Comparing
Patterns
Pretend/Imagination
Colors
Shapes
Counting
Sharing
Fine Motor Skills
Gross Motor Skills
Seasons
Nature

It was a lot...and it showed.  She took a three hour nap that day.

Until next time...


Monday, October 1, 2012

Up-Cycled Skirt Tutorial


Have you ever had one of those moments where you are doing something or looking at something and then this big idea hits you and you have to stop everything you are doing and just focus on that?  That is why this skirt exists.

While looking through a box of old clothes that I keep for up-cycling purposes I ran across and old maternity shirt.  I was going through the box for a completely different project but when I saw the shirt I was overcome by the "Do It Now" syndrome that I have a tendency to let control my life.


It's beaten, bruised and sad.  I wore this quite often while preggo with both of my children.  I loved the soft fabric and the stripes looked great under a maternity cardigan.  It was also a favorite sleeping shirt.  It has seen it all.  But when I saw it I was thinking two things...

1.  I bet Izzy would wear this!
Izzy is the female pirate from Jake and The Never Land Pirates

2.  Grace wants to be a pirate for Halloween!

We have been discussing the costume options with Grace and it always comes back to Jake and The Never Land Pirates.  She keeps telling me that I can be Izzy, Daddy can be Cubby, She's Jake and Claire can be Skully....the parrot...

I'll admit, I've really been contemplating the idea of making costumes for the whole gang...even a parrot costume for Claire bear.

So, for the next hour after finding the shirt, I made a simple skirt that maybe she could use for pirate dress up too.  Who knows.

First and foremost, Grace had to confiscate and check out the original shirt.


After I finally convinced her that it would be much cooler as a skirt, she finally let me have it. 

So here is how an old maternity shirt became a soft and cute fringed skirt.

First, gather your materials.  You will need:

1.  Striped shirt that you would like to up-cycle.
2. Good fabric Scissors
3.  Sewing Machine
4.  Appropriate Sewing Needle
4.  Matching thread
5.  Elastic (1/2 inch wide or less will do) cut to desired length
6.  Pins
7.  Two Safety Pins
8.  An hour of time

I want to take a moment to stress the importance of number four.  My shirt was a stretchy, knit jersey fabric. And if you happen to use a similar fabric, be sure to use the appropriate needle as you could damage the fabric and your machine.  I went with a knit needle for lightweight fabrics.  Worked like a charm...smooth like buttah!

Also, my rule of thumb for cutting elastic is to cut one inch less than the required length.  Grace's waist was 19 3/4".  So I cut a piece of elastic 18 3/4" long.

So here we go!!

First you need to cut the fabric to ensure a perfect "tube".  Since my shirt was a maternity shirt, this was really important.  I had more fabric in the front than in the back, naturally.  If you are using a regular shirt, you could simply use the hem as-is or cut along or above it depending on the length you want.

I wanted a longer skirt so I found the first stripe that went  around the entire shirt and cut along the bottom of it.


Next, I did the exact same thing to the top, finding the first stripe that went all the way around unhindered by any hems on the shirt.  Again, I cut along the bottom of that stripe.


Once you have cut out your piece, you should have a "tube" of fabric.


My fabric widened near the bottom as it was a maternity shirt.  Therefore, I chose that part as my bottom and started working on the top.

For the elastic waistband I made a casing.  After turning the fabric inside out, I suggest you make a hem by folding 1/4 of an inch, iron that down, and then fold over again an inch (you can also use one of the stripes as a guide).  Pin along the bottom of the hem.

Next, Take two pins and mark the opening to your casing on a side seam or on the back of the skirt.  You will not sew this area to begin with and the pins will act as a start and stop point. 

Creating a hemmed casing makes for a cleaner and more professional garment.  However, I had length working against me so I had to sacrifice the pretty hem.   : - (


Next you will start at one of the opening pins and sew along the bottom of the casing using an overlock or zig zag stitch for stretchy knits, or a straight stitch for non-stretch fabrics.   Remember that when you start, sew a few stitches and then make a few back-stitchs before proceeding.


When you come to the other pin, make a couple back-stitches to secure the thread.  This opening will need to be secure when putting in the elastic.

Now you will want to insert the elastic, and I have a couple tricks.

First, place a safety pin on the end of your elastic.  This will be the end that you feed into the casing.


On the other end (making sure to keep the elastic untangled and straight) pin the elastic to the outside of the casing.  This keeps the end of the elastic from slipping into the casing when you are tugging it through.  Brilliant!!


After you have pulled the elastic through the casing to the other end, pin the two ends of elastic together and sew.  Use a zig zag stitch and go over it a few times to ensure a secure hold.


Next, sew up the hole in the casing.  If you catch the elastic, that is perfectly fine and will actually help it to stay in place.

After your top is finished you can start on the bottom fringe.  I fashioned the bottom with those fleece throws in mind.  Basically it is simply tying two strips of fabric together.

First start by cutting about 1" into the fabric and make the strips about 1/4" wide.  I used the bottom of one of the stripes as a guide.


Continue to cut until you are about two inches from your starting point.  This will keep you from cutting one too many strips and not having anything to tie it to.

Tie two strips together in a double knot and continue until you get to the two inch block.  From there you can eyeball it to cut the correct amount of strips to ensure everyone gets tied to a partner.


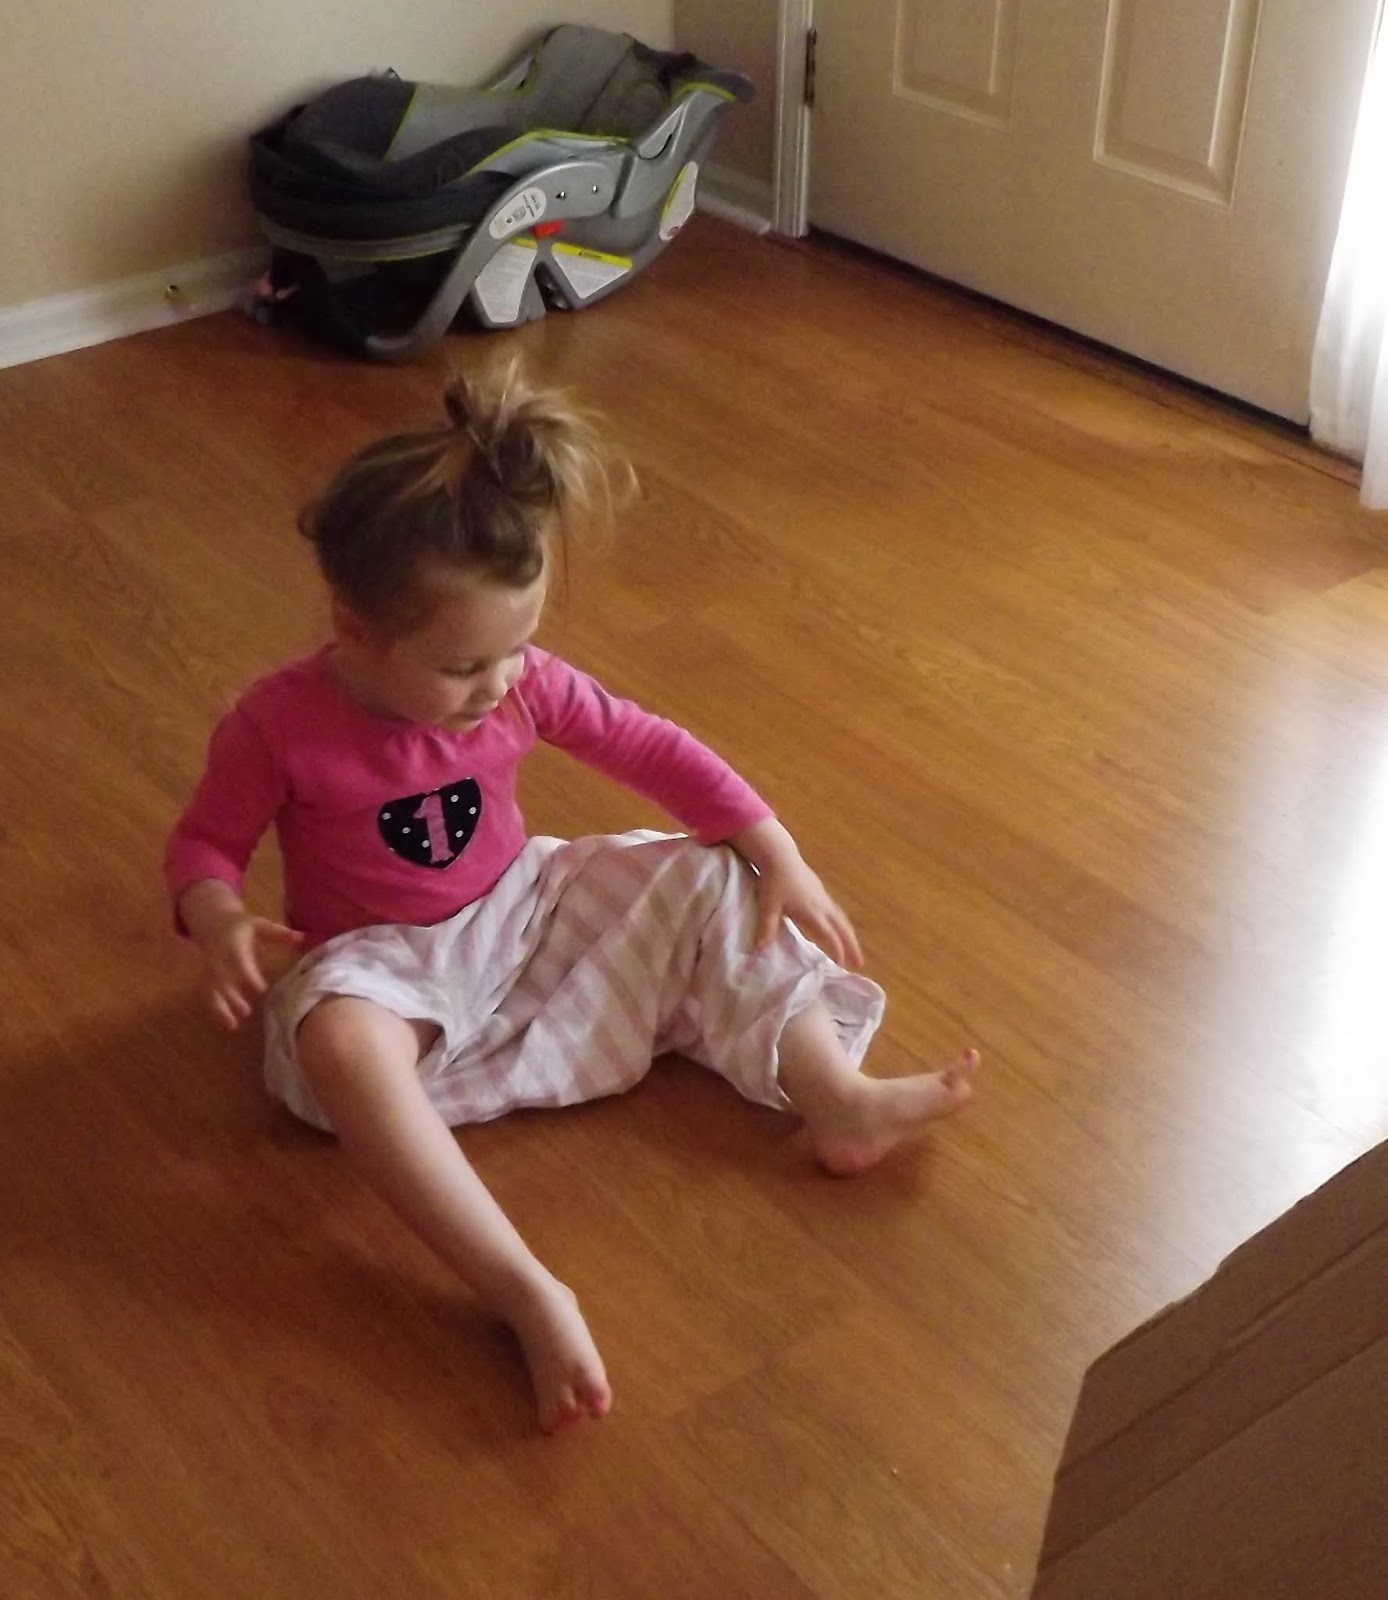
And then you are done.  All that's left to do is bribe your daughter with a piece of chocolate just so you can take a picture of her wearing the skirt!


After she put it on she of course loved it.  I made no mention of Izzy and the other pirates.  But I can definitely see this with some tights, a vest and a pirate hat.  Can you?  I'd love to hear what you think.


I love up-cycling.  This project cost me $0!!  I already owned the t-shirt and the elastic came from a giant bag of it that my dear friend Robin over at Bella's Blossoms gave 
me.  I had the thread and everything else so this project was great!  Plus, it only took me an hour and that was with both babies running around and Grace repeatedly asking me, "Is it done yet?"


I really love this skirt.  It's loose and the fringe at the bottom adds just a little more visual interest.  Here's the before and after:

Now go dig through your old shirts and find one to make into a skirt!

Until next time...


Friday, September 28, 2012

Photo of the Week


Obviously, this photo wasn't taken this week.  But I thought that since this little angel has been on my mind so much this week, it was only fitting to have her as my first Photo of the Week post.   (That's a lot of "weeks" in one paragraph!)

Claire just turned one in August and even though I desperately try not to think about her birth and the days after, that seems to be all I can think about lately.  

There are a couple new and, quite frankly, stinking adorable babies around me these days.  Holding these tiny little creatures has given me a bit of baby fever.  But as soon as I think, "Yeah, why not?  We could have another one."  My brain then comes to a screeching halt and I immediately think about her birth.

I don't know if Mr. MCD and I will ever have another baby.  We both want one.  But I think I'm too afraid right now to even try.

As for the picture.  This was the very first picture I took of her to share with everyone.  I took it on August 31st, 2011, 20 days after she was actually born, and I still didn't share it until September 1st.  I remember thinking and asking Mr. MCD if he thought we could...if we should.  I think I kept thinking that the amazing miraculous recovery she had made would all of a sudden disappear and I really wouldn't get to have her after all.

Claire is a miracle and there is no doubt about that.  She has no physical issues...a shock.  She has no brain damage...a COMPLETE shock.  In fact, she's crazy smart.

I am lucky I came out of it alive and, God willing, still able to have future babies if our family wishes and Claire is truly a blessed baby.

We love our family and we love our friends.  It always amazes me the support and comfort people can give in the darkest of situations.  

Happy 1st Birthday to my little miracle.

Until next time...


Linked up to "Photo Friday" at The Hollie Rogue

Wednesday, September 26, 2012

DIY Inspiration Line


Hi there!  I've got a fun little tutorial today.  This project cost me ZERO dollars!  However, I had all the ingredients from previous projects.  No fear though!  If you want to make your very own Inspiration Line and need to get the materials, you can make just one stop at your local craft store and spend under $10.  Not bad when you consider how stinking cute these things are.

Materials needed for your very own Inspiration Line include:

Twine - cut to desired length
Miniature Clothespins
Putty Adhesive
Hot Glue (optional)
Embellishments/Buttons (optional)


Just as a side note, the putty I used was your basic sticky-tack variety.  A little goes a long way.  With that said, you want to make sure the majority of the back of the clothespin is covered in order to have a secure hold.


Three small pieces seemed sufficient.  I also chose to use three clothespins to secure to the wall as the length I wanted would have put too much strain on two clothespins alone.  I highly suggest dividing the distance between endpoints if your length is going to be more than 15-20 inches.


Here they are firmly pressed against the wall.  And then I realized...


I needed a bit of color.  After all, this is in the playroom, which is full of color...


Plus, I've had these buttons that were given to me for over a year.  I've tried to use them several times.  However, I couldn't find a high flyin' thing to put these on!

So of course, I cut off the shank with utility scissors (the shank was plastic) and hot glued those cuties to the clothespins.  More than adorable!

This part is completely optional.  In fact I did this same project without embellishments in my kitchen area to rotate artwork made by G.  I love the naked clothespins just as much.


Next clip on your string and attach your beautiful and inspirational pictures and memorabilia to the twine with the extra clothespins.  So easy, it's silly.


On my Inspiration Line I have a recent letter from the oh so beautiful Shannah of Write Before Your Eyes and one of my favorite pictures of Mr. MCD and G during Father's Day back in 2010.  There is also a cool postcard, a bow, a favorite note card, birthday card and some art by my amazing Niece and Nephew.  I'm sure there will be more, but I'm happy to now have those things I love and look to for comfort and inspiration right in front of my creative work space.


I hope you have enjoyed this simple tutorial.  I love the whimsy it brings to the room.  I also love the fact that it took me no more than ten minutes to complete.  That's a win-win right there.  If making this from scratch it would be under $10 in 10 minutes...are you kidding me.

This little sewing/crafting desk is actually in the playroom but it's permanent and the sewing machine can stay out at all times. The Inspiration Line makes this little area even more personal  in a sea of toys and I love that. 

Thanks for stopping by!  Until next time...


Friday, March 16, 2012

Big Fat Stuffed Envelope!!!


I recently participated in a swap called "Big Fat Stuffed Envelope".  Wow!  What a tremendous loot!  My swap partner gave me oodles of cool stationary, a nice hand made bookmark, blank ATC's (Artist Trading Cards), a beautiful blank postcard from Louisiana with a Magnolia flower on it...she didn't know it but that has significant meaning to me.  I went to Magnolia Springs State Park when I was a kid and I just had such a wonderful time...It was the first time that I realized how much I loved the outdoors...and can't go too long without being in some natural setting.


I think I may now have an obsession with these swaps.


It's even better than a letter in a way.  I open it up to find goodies that someone hand picked or even hand made for me.


I always have to send a nice thank you note.  And since Jennifer gave me such wonderful things, I decorated the envelope a little.


Until Next Time...


Related Posts Plugin for WordPress, Blogger...