Wednesday, April 3, 2013

Original Painting Begins!!!

Hello!  Voting has ending and with the combined votes from Momma C Designs and Facebook, you all voted for an original painting.  I'm actually thrilled with the choice!  I've been itching to do a painting for about a year now but our living situations kind of hindered that.  Moving a lot does not necessarily lend itself to a ton of creativity in the way of painting...at least not for me.

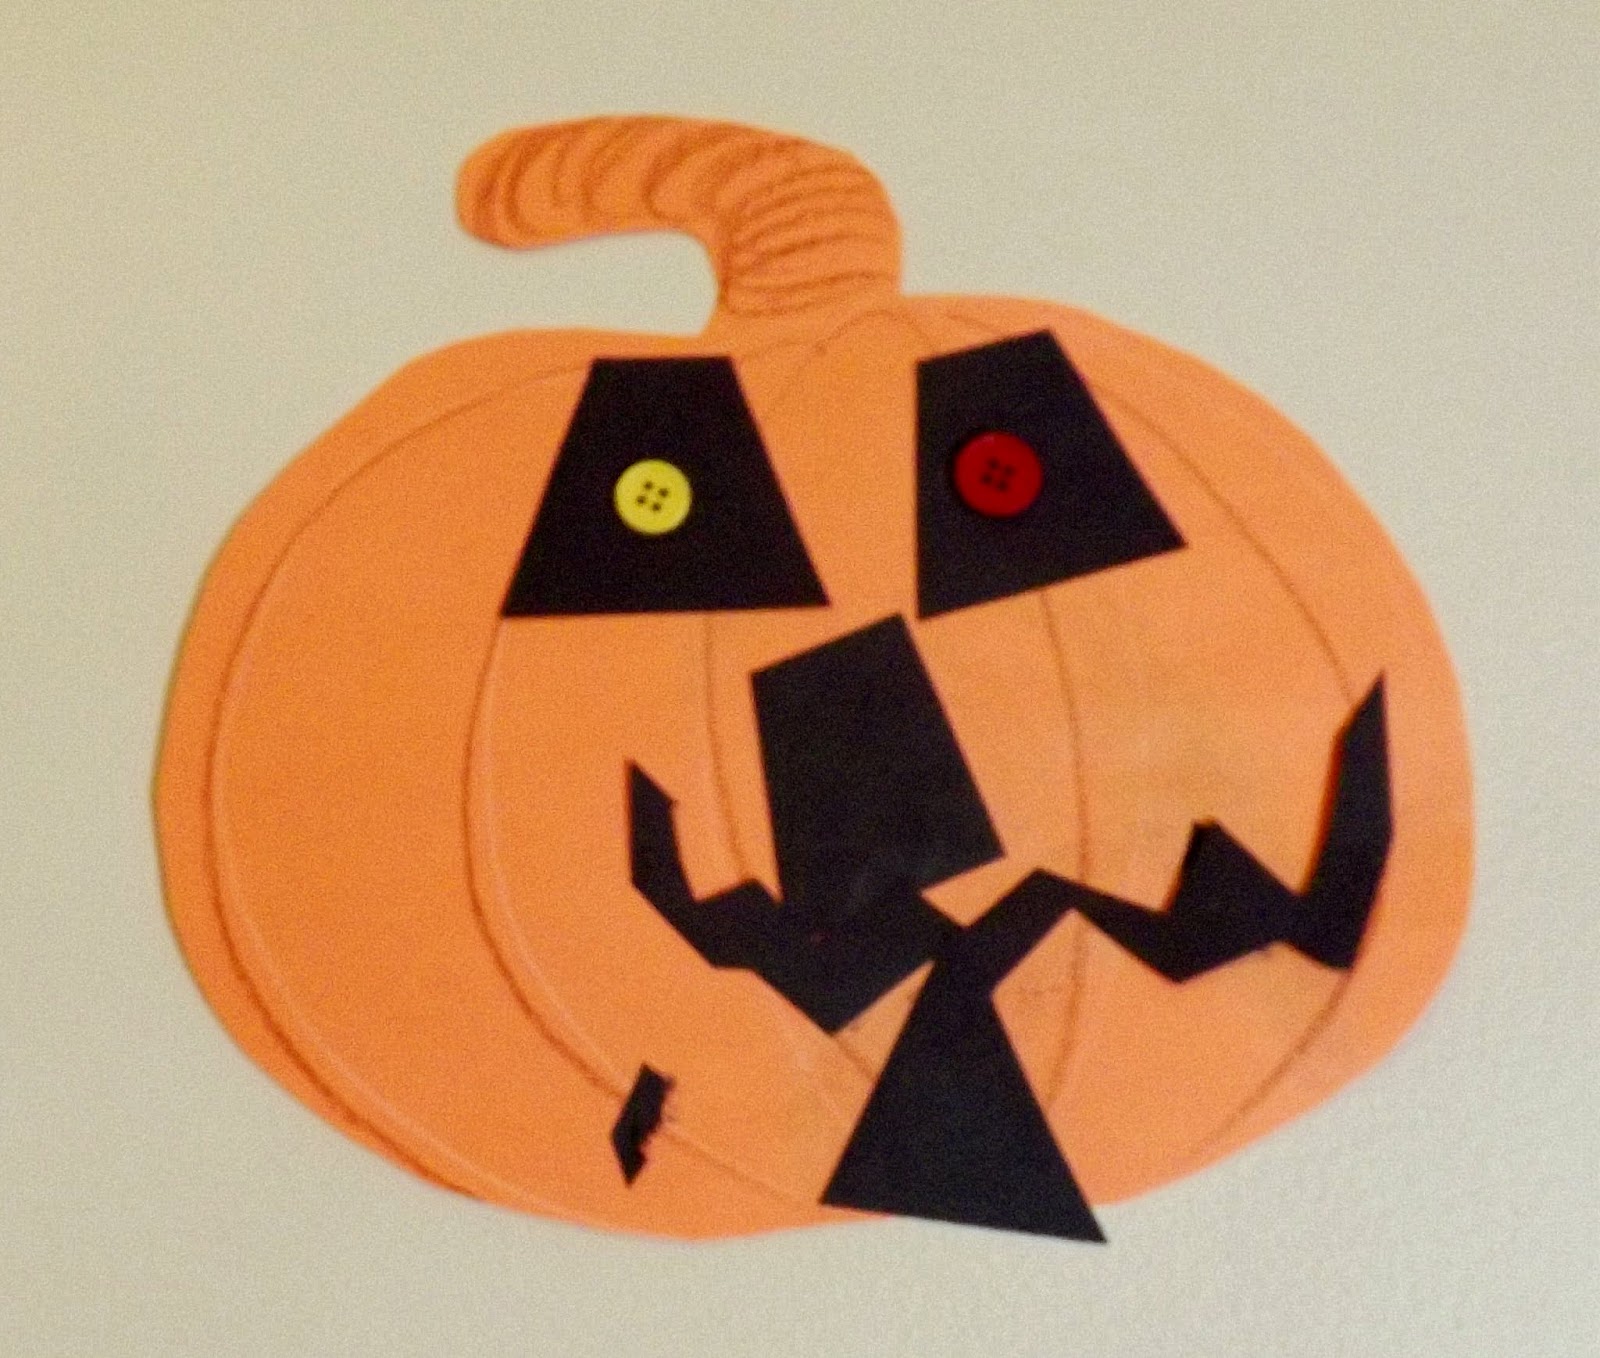
Below is the AWFUL painting that we found in the house when we moved in.


It's dark, muddled.  It's just plain ugly!  But, it's big!  I knew right away that I would want to reuse it.  But first, I've got to get rid of that hideous painting.  Introducing, Liquitex Gesso!  I love this stuff.  I found it quite a few years back and have used it on all of my paintings prior to starting.  It gives you a great base to work with...especially with acrylic paint, which is what I'm choosing to use for this project.  When you just start painting on a canvas, the paint really soaks into it so this gives it a barrier and a smoother surface.  It also works to hide previous work if you are reusing a canvas...just like in my case!

You can find this at Michael's Craft Store, and pretty much anywhere else including online.


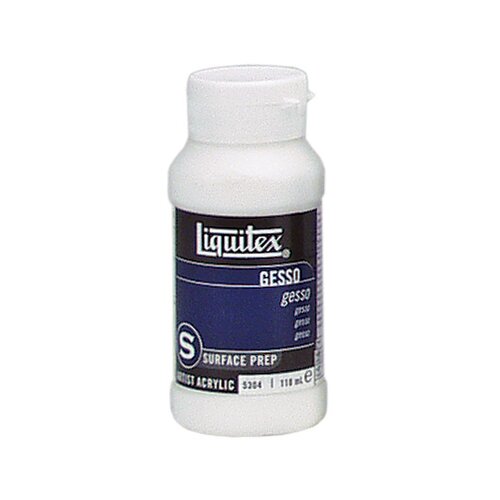
Look  how thick this stuff is.  It's completely opaque and the coverage is phenomenal so a little goes a long way...And yes, I'm doing this on the hood of my car.


Below is the coverage just from that little amount I put on.  You can see that it completely covered the darkest area of the painting (although I did give it a second coat later...just for my own piece of mind).


So, I finished up with the gesso and then went to work on a general draft.  I love stripes and that's what I was going for with the background but then I went with the idea of creating a planked wood background for dimension...so that's where I'm going.  You can at least get the general orientation of the painting with the sketch.  I'm also thinking about changing Grace's line of site to look at me...or, the viewer if you really want to get technical.


So, there you have it!  Work has begun and I'm so excited to do it.  I'll keep you posted as I go along with little tips and tricks.  Thank you for voting and I can't wait to hear your comments!

Until next time...


Thursday, March 28, 2013

Vote on the Next Project!!

Hi there everyone!  Okay!!!  So what should the next project be?


From Left to Right...

 -  A Three cubby bookshelf for the playroom

 -  Farmhouse doll bed (Sandy has been needing a bed for quite a while)

 -  Original painting utilizing an old canvas that was here when we moved in and depicting the scene of my two lovies.

 -  Handmade knitted washcloths from Purlbee.  We seem to be in need of some new ones...so why not make them.  I made one a long time ago and I love the feel of it.


VOTE NOW!!

Look to the right of your screen and find the Next Project Poll.  You can choose multiple projects if you are not sure which project you like the most.

Poll ends Friday (March 29th) at 12pm.  Work on projects will begin next week!

I can't wait to see what project you choose!


Until next time...


Tuesday, March 26, 2013

A New Vanity For A New House!

Hello!  It's been five months since my last post!!!

WOW!  is all I have to say.  Sad, but true.  We've moved again from Columbus, Ohio to Cincinnati, Ohio.  I'll spare you all the details, save for one.  I was not thrilled.  In fact, I was so down about moving, that I stopped blogging.  I didn't talk to friends for a while.

I felt like I was finally settling into a place and then, here we go again!  Our move to Cincinnati marks the fourth move in three years.  I was being ripped from friends and a house that I really loved.

But...God works wonders.  Our new house, lovingly dubbed The DJ House, is my favorite home I've lived in thus far.  The previous owners did a phenomenal job on the place.  Photos will be uploaded soon...now that we are moved in and there aren't boxes in every nook and cranny!

However, I did need to add a vanity.  So here she is in all her glory!


I know, it's not much.  But before, it was just a three sided alcove right next to my closet.  Now, it's a perfect spot for my makeup, jewelry and a pretty little mirror I got at a garage sale back in Columbus for $1!!

Next is a multitude of things for this space.

The mirror is getting painted Aubusson Blue from Annie Sloan's Chalk Paint line.


It will then get a nice rub and buff of gold on it's pretty edges.

Rub-N-Buff - Grecian Gold

I also need a new light fixture.  The one up there now looks like a weird clam shell.  I'd like something along these lines.


You can kind of see the route I'm going just by looking at the lamps.  A little regal, a little glitz with some interesting detail.  I think my least favorite is the very top one, but I really love the glass on it.  The bottom one would have to be three or four in a row, but I LOVE the star burst.  Very playful!

Then, I need ruffles!  I'm going to put a shelf below the vanity and I would like to hide that if I could.  Below are some ideas I liked.

Grand Design Co.


Anthropologie

I like the Anthropologie look, although the ones shown are curtains, but that's an easy DIY.

I also have to finish my chair, which I don't have a picture of.  However, below is a similar one.


That is pretty much the exact chair, minus a few details and a very much needed seat.  I need a jig-saw to cut out a seat to reupholster it.  But, my little cane-back chair cost me zilcho dinero!  I was out running one day and saw that little baby on the side of someone's house.  Luckily my Spanish is decent enough that I was able to communicate that I would like to have the chair and the lovely couple let me take it!

It's beautiful!  It just doesn't have a seat yet!

Along with accessorizing and all the other little tid-bits I mentioned.  This project is well underway!

However, the hideous wallpaper will have to wait.  I'm not ready for it yet.


Can't you see how pretty this little spot is going to be?!?!

Until next time...hopefully not five months down the line...


Friday, October 19, 2012

Photo of the Week

It wasn't necessarily any special.  Maybe it was just the way the light seemed to fill everything so I could see things very clearly.  Maybe it was my vantage point.  The girls and I normally sit right beside each other to eat, but on this particular morning, I decided to sit across from her...and she was so small.

She has seemed so small to me lately.  Last night when she crawled into my bed and I wrapped my arms around her...she was so small.  When her feet rested against my legs to listen to music and read a story together...she was so small.  When she came to me and whispered, "I have a secret...I love you," she seemed so small.

I forget because I'm constantly in a state of amazement at how smart, talented and kind she is.  It's because of this that the tiny whispers of "I'm scared, mommy" throw me off and make me remember, she's still just a baby.  My little baby who wraps her arms around me so tight during the day, and at night, just lies in my arms in complete trust.  She's just a baby.

Until next time...


Linked up to... 


The Hollie Rogue


McDougall Photography


The Long Road to China
the long road


Thursday, October 18, 2012

Not so Spooky Spooktacular Pumpkins!


Okay, so maybe they aren't very spooky...but they were fun; as fun could be!

What you will need in addition to the photo's list:

White pen, chalk or crayon
brown crayon
Exacto knife and a good blade
scissors
Office stapler and staples


First, draw a pumpkin.  If you are going to make multiple, staple that picture to a number of pages of the same paper.  (We used orange construction paper) and then cut out with a pair of scissors.  Now you have a bunch of pumpkins!

Draw in the lines with white pen, chalk or crayon, then color the stem with a brown crayon.  You can even go back over the white lines with the brown crayon.

Picture doesn't show that step...but you get my drift.)


Next, take some squares of black construction paper and draw some scary, funny, or happy teeth.  I found that using an Exacto knife was the best route for this step.  I was able to get some really funky teeth with the Exacto blade....and it went so much faster than scissors.

You could do the same as with the pumpkins to get multiples of the same mouth.  That would save time. too.


Next, cut a strip of black construction paper and cut out triangles with your scissors all the way down the strip.  They don't need to be perfect and you don't have to just do triangles.  

Next, present all the pieces, get a pumpkin for yourself and let the fun begin!

If you want to add some more fun, add some glitter, halloween stickers, and maybe even some cutout spiders!  You can do so much with this craft.

Oh what fun they are!  If you don't feel comfortable with your drawing skills or don't have any fake fall leaves, I've created three printables which can be cut out.  All you would need then are the buttons and glue.


I hope you have as much fun as we did making this craft.  Here are a few shots of what G and I created (I really only made one).


Poor guy...


I like the eyebrows on this fella.


Enjoy and until next time...


Linked up to...

Skip To My Lou
Related Posts Plugin for WordPress, Blogger...