Sunday, May 8, 2011

Hair Bow Organizer - Part I


Grace has a ton of bows, and I have lost quite a few of those bows.  I keep them in the top drawer of her bureau in a very small box.  This box has long since overflowed and it's really hard to see what I have and to keep them from getting mixed into her socks and hosiery.  Hence, the hair bow organizer. 

I had had the idea to make one for quite a while and in doing my research I came across many a tutorial on such organizers.  I found one that I really liked because of the finished look of it, however, when I went to retrieve the site so I could link it, I couldn't find it.  I thought I saved it but I clearly didn't.  So I'll go forward, but when I find it, I'll come back and give credit where credit is due.

First, let me start by saying this is part one of this project because my family might be moving and I might change the entire color scheme of Grace's room.  So, I didn't paint the frame as I originally intended so it's a tad bit unfinished, but I needed the organizer bad and besides, part two will be really fun as I'll paint and decorate the frame to give it some more pizazz!  But for now, it's pure functionality at it's best.

Here are the materials you will need to complete this project:


  • Picture Frame with Glass - size of your choosing
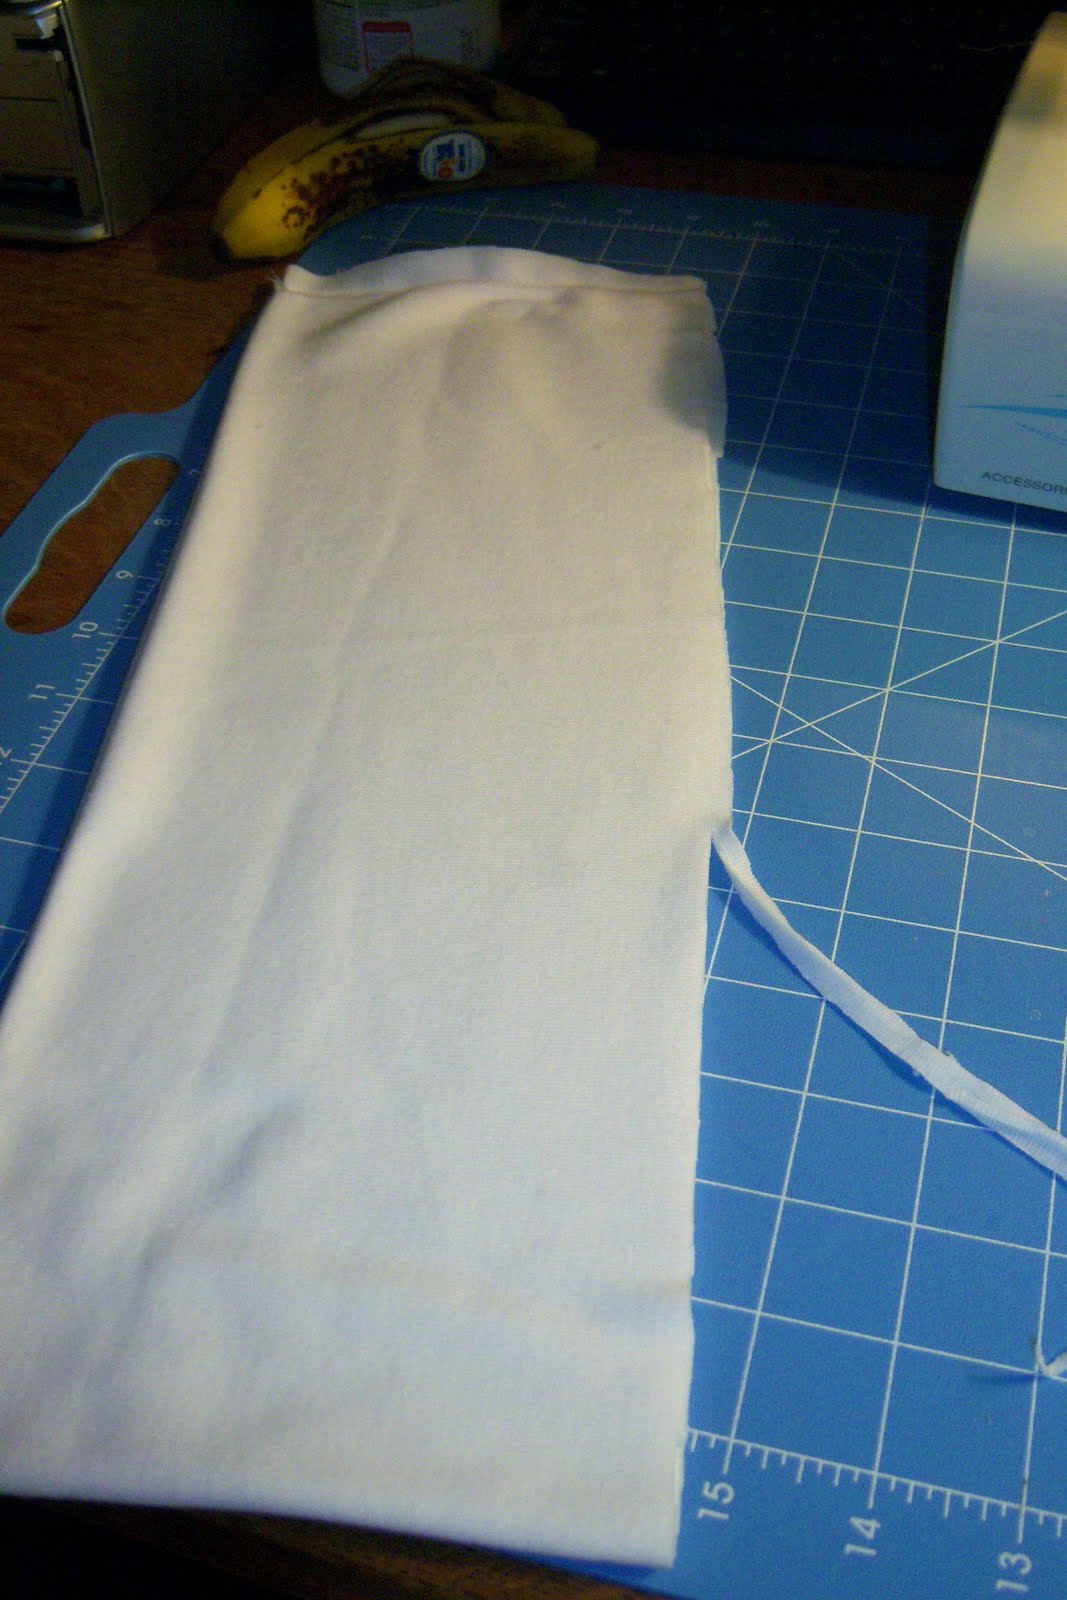
  • Fabric - 1/2 Yard is plenty if you would like to have some left overs
  • Coordinating Ribbon - 9ft or more
  • Hot Glue Gun and Glue Sticks
  • Scissors
  • Fabric Marking Pen
If you want to finish the frame, do that first and you will need paint, any decorative items you wish to use and the hot glue gun.  Go wild!

Just a hint, grab your frame from a local thrift store or use an old one that you would like to re-purpose.  I got mine at Goodwill for $15.  It's a large frame at a finished size of 19 1/2" x 23 1/2".  I would have probably paid close to $30 maybe $40 if I had bought it at any retail store.  It's a great frame and very sturdy so I feel I got a great deal.

First, remove the backing from the frame and pull out the glass.  Take your fabric and place it under the glass.  Cut the fabric so that there is at least 1" overage.  I say "at least" because if your fabric is like mine, checked, then you might have to do some maneuvering to make everything line up properly.

Next, on one side, hot glue the corners down first.  Then continue on down the side to reach the other corner.


Next, go to the opposite side and do the same thing, pulling tightly before gluing down your corners (watch your pattern if you have one).  Move on to the other two sides and glue down.  You should finish to have a nice covered piece of glass.


Next, measure your glass and add 2".  Cut your ribbon to that length.  Cut however many pieces your want.  I cut five and I was going to add two more strips to go perpendicular to the other five, but I ran out of ribbon.  Boo!  Lesson learned.


On one side measure and mark with a fabric pen at even intervals where you want your ribbon to be placed.  Do the same for the opposite side to have straight pieces of ribbon in the end.

Take the ribbon and with right side facing the floor, put it on the fabric side of your glass.  Take the ribbon at your marked spots and hot glue it down.


Put the glass back into the frame, decorated or not, and replace the backing.  And Voila!!!  Now you have a beautiful hair bow organizer to easily access your child's easy to lose hair bows and it makes quite the pretty picture in your child's room.


And now, for a little Mother's Day cannoli...YUM!


I don't know when I'll decorate the frame, but when I do, you can be sure it will be posted and will be very fun!

Wednesday, May 4, 2011

Home Made Cereal Box Puzzle


I love to give Grace a challenge and today I was feeling a little lost when it came to figuring out what to do next to give her little brain a workout.  We have a few puzzles, all of which she has mastered so while cleaning the kitchen, I was about to throw away the empty cereal box when BAM!  It hit me!  I can make a home made puzzle that Grace has never seen before.  Challenge Accepted!

First, I set out to cut off the front of the box with a pair of scissors.


Next comes the shapes for the puzzle.  I decided with the first one, I'd go light and see how she did so I marked the back of the cut-out with a marker and divided the image into even rectangles.  Later, as she gets better at these kinds of puzzles, I'll make more difficult shapes and varying sizes.


Cut, spread and call over the baby and play with a new puzzle FOREVER!  She never quite got the hang of it, but she was definitely interested and really trying to figure this thing out...which is exactly what I was going for!


Grace had a great time playing with this puzzle and wanted to do it again that night with Daddy.  The great thing about this is by the time she masters this one, we will be finished with the next box of cereal.  Different image, different puzzle.  We could do this every time!

Good Ole' Granny Panel Skirt Refashion


This was my second maternity refashion.  I bought this skirt with the intent of making it into a maternity skirt.  I got it a TJ's for $12.  That's way cheaper than anything I would buy that's ready-made maternity!

As I said in the maternity pant refashion post, I like a full panel.  So after learning my lessons with the first refashion, I lengthened my knit fabric from 12" x 23" to 17" x 23".  This gave me a finished size of a little over 8" after seam allowance.  Nice and granny-like!

This skirt was interesting.  The front was flat and the back was elastic.  So, instead of cutting off the entire band, I just cut off the front.


Before I cut anything, I pinned the front and the lining together under my cut line, that you can't see in my picture, so I could keep the two together.  I didn't go too low with the cut, just a few inches.


Again, as you can see, I kept the elastic in the back.  Next, I just sewed the band that I made (see Maternity Pant Refashion for instructions) to the elastic while making sure to fully stretch the elastic and stretch the knit a little too.


 I continued on to the front and finished to have a beautiful new skirt to wear during the hot summer months of pregnancy!  Keeping the elastic was perfect and the band is wide enough that I can fold it down for now and when I get bigger and need more support, just pull it all the way up again.  I love my granny panel!


Maternity Pants Refashion


Nerve-racking: (adj.)
Intensely distressing or irritating to the nerves.
That is what this project was for me.  Nerve-racking.  I was really scared to cut into these pants even though I knew that if I messed up the outcome, I wouldn't have been able to wear them ever again anyway.  After I gave birth to Grace, those pants were just never going to button again.  However, they still fit great in the thighs and behind.  So, why not try my first maternity refashion?
First, I'll say that the outcome was not perfect, but it was perfect in that I made many adjustments for a couple of future pant refashions.
Second, the method I used on these pants would still be perfect for most pants.  These just happened to have an extra large band at the top.  I also should have figured in how low the zipper was on these pants as they were always a very low riding trouser, so I lost quite a bit of length in the front and back with these.  Still, they came out completely wearable.
To begin, I traced out a cutting line beginning just under the zipper and rising up to the side belt loops.
 
Next, I stared at the pants for about 15 minutes as I realized what I was about to do.  I was about to cut into a perfectly good pair of pants!  I don't know about you, but this fact was freaking me out a bit.

When I finally gathered my courage, after David told me I had already ruined the pants, I made my cut.  When doing this, just cut right through the pockets.  You can pin them on the inside to make sure they don't move it there is a chance of that.  For the back, cut just under the band and remove with a seam ripper any belt loops that may still be attached to the pants.


Whew!  Looks deep huh?  Well, it is.  That's why these pants aren't perfect but still perfectly wearable and now I can get some final good days out of a beloved pair of pants.

Next, I had to make the band.  I used a one-way stretch knit fabric.  When using a one-way stretch, make sure the stretch is going left to right on the belly, not up and down.

I typically like a full panel.  I know, granny style, right?  But, If I use a demi panel, I find myself constantly pulling my pants up.  But for this one, I did make a demi panel....by accident!  Ha!  Of course it's fine and because the cut is so low, it doesn't do what a normal demi panel does to me where I feel like I'm cutting off the circulation to my baby when I sit down.

I cut a 12" x 23" piece of fabric.  This is of course too long, but it might not be if you are farther along in your pregnancy and every knit fabric stretches differently.

Fold it in half and wrap the fabric very tightly around your belly (stretch left to right) while still allowing for a little give.  Allowing for a 1/4" seam allowance, mark it with a pen and cut the fabric where you marked.

Next, sew the ends together.  Make sure you use a knit needle and use a stitch that is appropriate for knit fabric.  Zig-Zag works well, but I used a different one as there is a lot of pulling involved in the use of these pants.

Cut off excess where the band will be sewn to the pants so that you will catch both pieces of the folded fabric to the pant.
Next, pin the raw edge of the fabric to the outside of the pants.


The knit fabric will be a little smaller than the pants, so you will have to stretch it to make it fit the pants.

Next, stitch the piece together using your choice of any appropriate knit stitch.


And Voila!!!!  You've got some adorable new maternity pants that you didn't have to pay fifty bucks or more for! 

I love these pants, they are super comfy and look great, I mean GREAT, with heels.

A word of advice, if your band looks very wide and the pant are already a low rising pant, remove the band with a seam ripper.  This takes a lot more time, but the loss of length in the back is dramatically reduced.  Also, if you want more length in the front...well, I'll save that for the next pant refashion!
Related Posts Plugin for WordPress, Blogger...