My niece is turning 7 and is having a princess themed birthday party. So what better accessory than a birthday crown! In doing my research to find ways to make birthday hats, I came across the blog,
Juicy Bits. She made felt crowns for her son and daughter on their birthdays. They were adorable and I knew that it was exactly what I wanted to make for my niece's big day, but I wanted to go a little further and make the crown fit for a princess. So I changed a lot in terms of materials and design to fit my needs.
So here are the materials you would need to make my version of a blinged out princess crown:
1 sheet of stiff felt
1 sheet of regular felt of contrasting color
extra felt sheets of different colors - stiff or regular (I used a mixture of both)
Ribbon - different colors and sizes to match your main two colors
Gems of your choosing
1 Strip of coordinating fabric 2 1/2" wide and the length of your crown + 1 inch
1 Strip of coordinating fabric 2 1/2" wide and double the length of elastic
5/8" elastic long enough to finish the length to fit the head snugly
Fabric Glue (Fabri-tac or Hot Glue)
I didn't include sizes; you may need a smaller or larger hat. My niece's head circumference is 21" and the felt I got was 11" long. So I made the elastic 10" because that was perfect to give the elastic a 1/4" seam allowance and then the hat would fit perfectly. It just depends on your supplies and preference.
So, to begin, I used the stiff felt to give the hat structure. I folded it in half and traced out the crown design by hand. I actually suggest cutting out a template but I was silly.
 |
| The left side is 2" wide and the right side is about 8" |
Next, I needed the front so I laid out the stiff felt flat and traced the outline onto the regular felt. The regular felt added softness to the crown.
Next, I went on the inside of the line and marked 1/4" from the line, connected the dots and cut out the shape with pinking shears (make sure yours are sharp if you are going to use them because it really frays the regular felt if they aren't sharp).
I attached them by stitching them together. You can get creative here with decorative stitching, contrasting thread, etc.
Next came the fun part! Decorating!!!
I made a template for a star-like flower, cut out a diamond and then a circle by tracing a spool of thread. Then I took some pretty blue embroidered ribbon (3/8") and made four loops. To do this, just figure out how wide you want the finished ribbon to be, multiply by half and add on anywhere from 1/4" to an 1/2" and cut. Then add a dab of glue to the middle and the left side of the ribbon. Fold the right side to the middle and then the left side to the middle. Presto! Loop! Make as many as you want and glue them on top of each other to make your shape.
Next I layered them all together and added bling to the diamond corners that I found in the trimmings section of Joann's. This was the really nice bling; very sparkly. I added a gem to the middle that was part of a gem pack I purchased. So pretty!! I love the dimension this crown has.
Next I needed to make two matching layers for the sides and this time I took pictures of the loop making process.
 |
| Cut double the length you want the finished loop to be. |
 |
| Glue the loop by adding a dab to the middle and a dab to the left. Turn in the right side and then the left side. |
 |
| It's hard to see, but there is a blue diamond of stiff felt underneath the loops. |
 |
| Finished side embellishment with a gem from a gem pack and another gem glued on top of that. |
It's all stacking and layering. Finally I added gems to the top and a few surrounding to finish it.
 |
| I added the gems on the far sides at the very, very end because I still needed to sew the elastic. |
For the back, I needed to add some fabric because the stiff felt is scratchy and my niece lives in Georgia and it's going to be hot. I can't imagine stiff felt on the forehead is something that would be very fun.
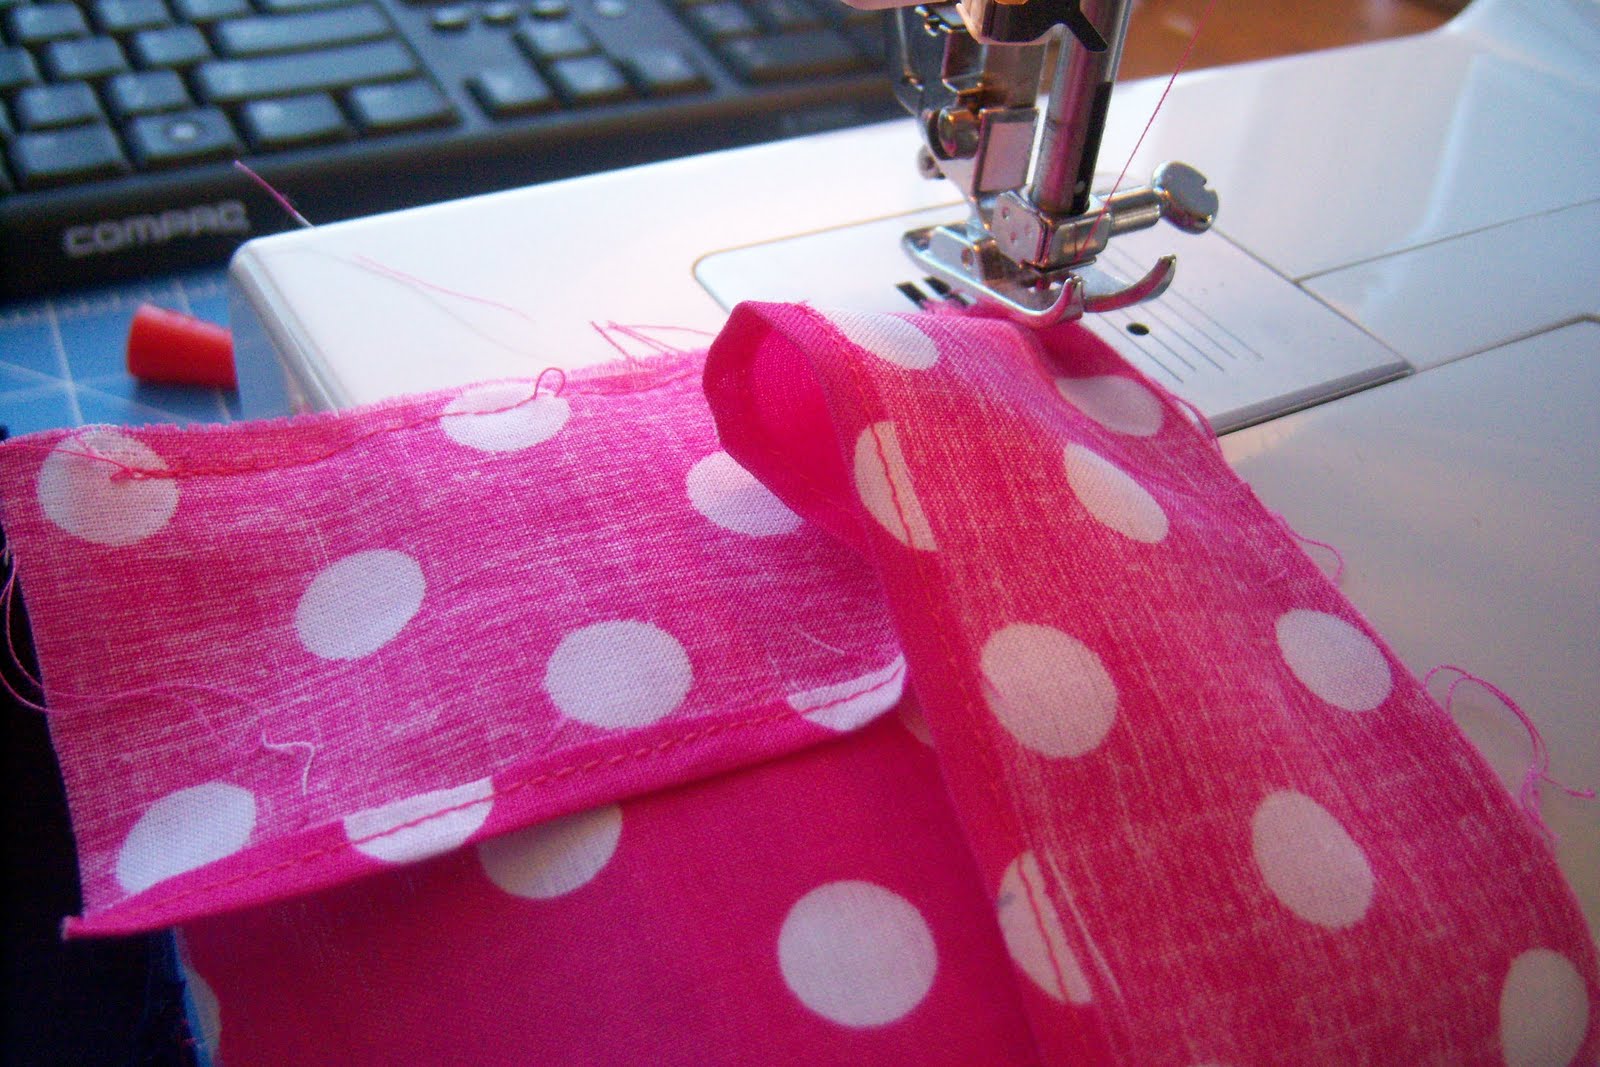
So I cut my strip of fabric for the back 2 1/2" wide and 12" long. I then stitched a 1/4" hem down the length of the fabric on both sides.
 |
Long strip: 2 1/2" x 20"
Short strip: 2 1/2" x 12" |
When that was finished I just glued it to the back of the crown. I only took my glue to an inch from the edges of the crown to leave room for the elastic to go underneath this fabric. Had I planned better, I would have gone ahead and stitched this to the stiff felt in the beginning. However, this worked just as well.
Next, with right sides together I stitched down the side of the 20" fabric, closely to the edge, to make a casing for the elastic. Next, I needed to turn this casing inside out and here comes the tool of the ages - the loop turner.
I said that I would get one before I needed to make anymore dress straps or dress ties or anything like that. Well I got one and this project was the first time I got to use it. Usually it takes FOREVER to turn a casing inside out by hand. This beauty finished my loop in about 15 seconds. Ahhhhh....deep sighs of relief. I recommend getting one if you sew.
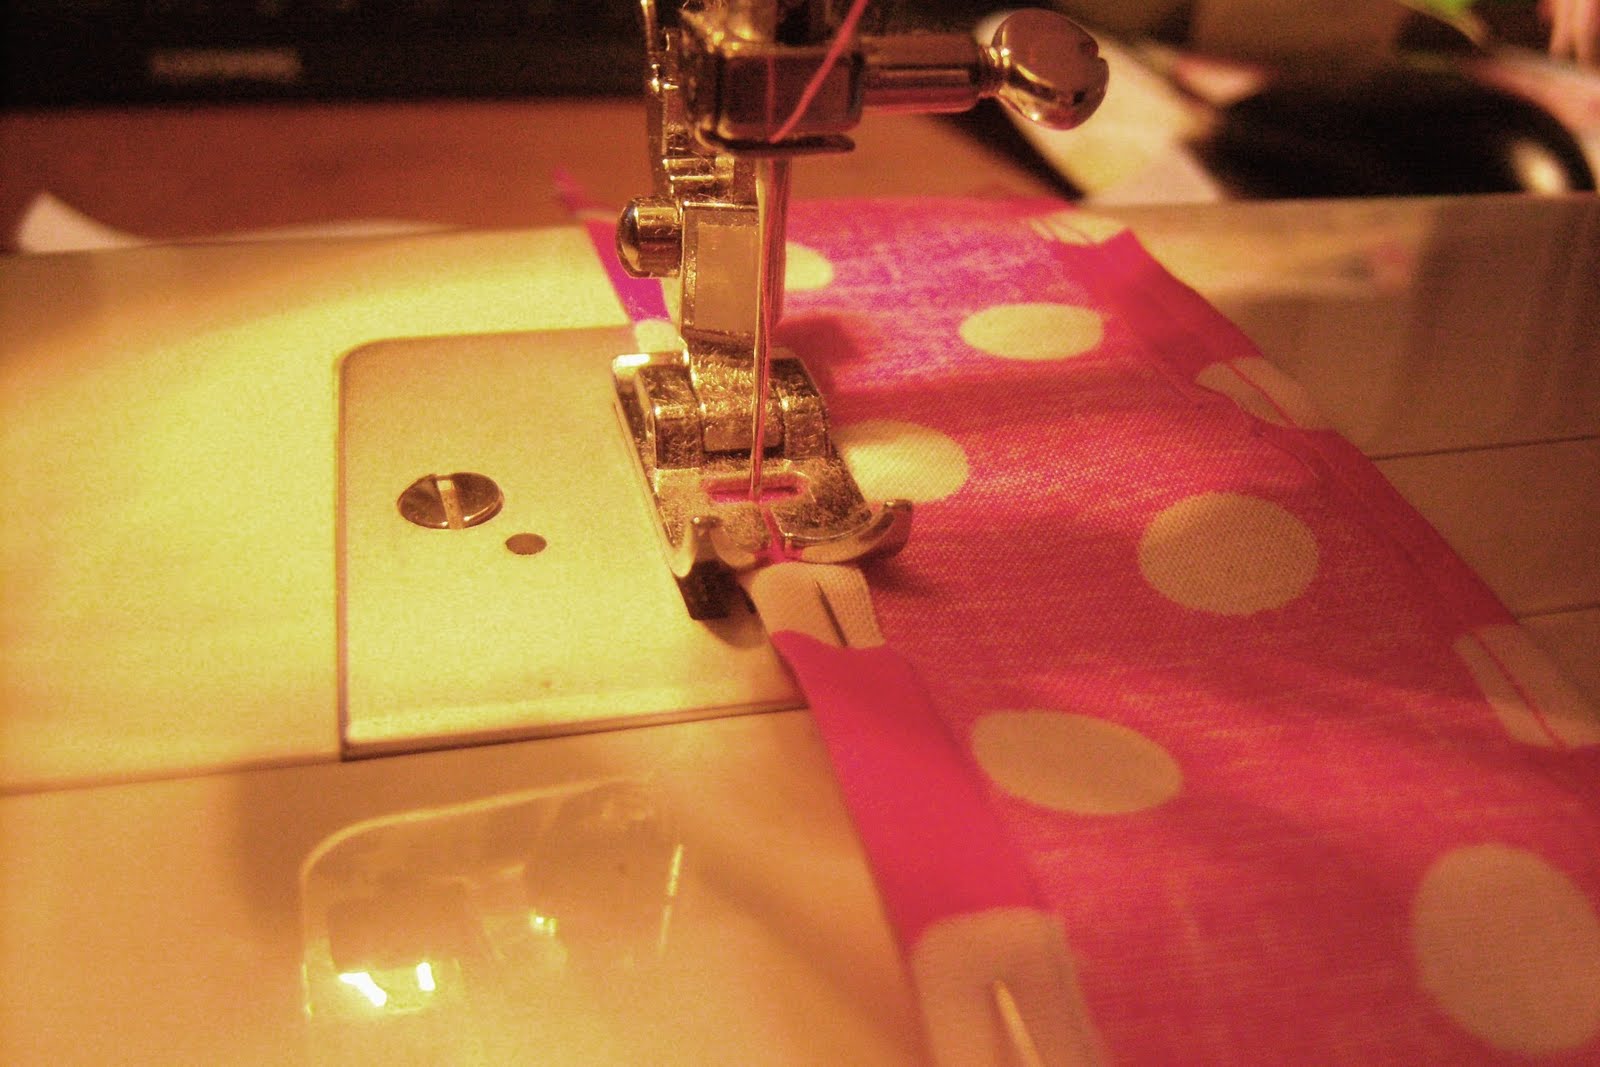
After my loop was turned in no time at all, I cut a 10" strip of 5/8" elastic. I pulled that through the casing with a bobby pin and stitched the fabric to both ends just to hold it in place. If you don't do that, your fabric will just spring off and I didn't want to be worrying about that while I was stitching it to the crown.
This next part was tricky, not at first, but definitely when it came time to stitch the second side. First, the easy part. Take the elastic, with the seam facing toward the back of the crown and stick it under the fabric on the crown back. Also fold under the extra fabric that's sticking over the sides to make a clean edge. Stitch 1/4" down the side and back stitch over the elastic to make sure it has a secure hold.
Next you do the same for the other side (make sure your elastic isn't twisted - I made that mistake and had to pull out the seam ripper). This is tricky because the elastic is in your way and the crown is bending. This was the only frustrating part of this project, thanks to my loop turner!!!
This is what the back should look like when finished.
And here I am modeling the finished product! HA!
I love this crown! It was a ton of fun to make and I really hope my niece enjoys it at her birthday party. I decided not to add her initial or her age so that she can play dress-up for as long as she can wear it. And seeing as I can get it on my head with little strain to the seams, she will be wearing it for quite a while! Happy Birthday Jazz!